How to build an NFT-Minting bApp using Caver-js, Solidity, Klaytn-IDE
Learn how to build an Nft Minting bApp using Caver-js, Solidity and Klaytn-IDE.

Introduction
Having gone through building, deploying and minting the KIP-17 token using hardhat in my previous article as explained here, we would like to take it a step forward by building a front-end that enables us mint these tokens.
The goal of this article is to explain how to build a frontend that interacts with our smart contracts using Caver-js. We would also be modifying our nft smart contract to include a mint-price and few other changes to suite our development needs.
What we would be building
We will work on creating a bApp that at it's core mints KIP-17 tokens to a designated address having answered correctly more than 50% of the quiz questions about Klaytn. This is mainly for educational purpose and as such just to demonstrate calling the mint function from a front-end given a mint price.
The final output will look like this:

Prerequisites
To follow along with this article, you will need:
A basic understanding of HTML
A basic understanding of JavaScript and DOM
Kaikas wallet installed
Webpack usage
Here is a more detailed summary of what we gonna do:
Write our NFT smart Contract with new modifications on Klaytn IDE
Deploy our NFT smart Contract
Build the Front-end
Test our bApp
Writing our Nft Smart Contract on Klaytn IDE
Lets navigate to Klaytn IDE and then create a new .sol file in the contract folder. Be sure to name it something like myNFT.sol or anything that resonates with you.
Now let's copy the code below in our file:
  // SPDX-License-Identifier: GPL-3.0

//Declares the version of solidity to compile this contract.
pragma solidity ^0.8.0;

//import implementation of KIP-17
import "https://github.com/klaytn/klaytn-contracts/blob/master/contracts/KIP/token/KIP17/extensions/KIP17URIStorage.sol";

//imports a library to increment and decrement uint
import "https://github.com/klaytn/klaytn-contracts/blob/master/contracts/utils/Counters.sol";

// imports implementation for some access control
import "https://github.com/klaytn/klaytn-contracts/blob/master/contracts/access/Ownable.sol";

// declares the contract and its  name
contract POKNFT is KIP17URIStorage, Ownable {

       //a counter to keep track of the tokens minted
      using Counters for Counters.Counter;

      Counters.Counter private currentTokenId;

     // sets the token information: name and symbol
    constructor() KIP17("POKNFT", "POK") {}

         // a variable to store the mint price
        uint256 public constant MINT_PRICE = 5 ether;

        // a mapping of address to bool to keep track of those
        // who already minted. Users are supposed to mint once
        mapping(address => bool) alreadyMinted;

       //takes in two arguments:
      //address recipient: address that will receive newly minted NFT
      //tokenURI: describes the tokens metadata

      function mintNftTo(address recipient, string memory tokenURI)
        public
        payable
        returns (uint256)
    {
        require(msg.value >= MINT_PRICE, "value not equals the mint price");
        require(alreadyMinted[msg.sender] == false, "Already Minted");

        currentTokenId.increment();

        uint256 newItemId = currentTokenId.current();
        _mint(recipient, newItemId);
        _setTokenURI(newItemId, tokenURI);

        alreadyMinted[msg.sender] = true;

        return newItemId;

    }

        // withdrawal of contract's fund by onlyOwner
      function withdrawPayments(uint amount) public  onlyOwner  {
          require(amount <= address(this).balance, "Insufficient funds");
          payable(msg.sender).transfer(amount);
      }

      // returns the contract balance
      function getContractBalance() public view returns(uint) {
        return address(this).balance;
      }


}
That's all there is to our contract modifications. Now let's compile and deploy.
Deploying our Smart Contract
Now let's head to the Deploy and run transaction tab and do the following:
Add Account: Click on the + icon to paste your private key.
Deploy: Now that you have added your account, click on the deploy button to deploy to Baobab.
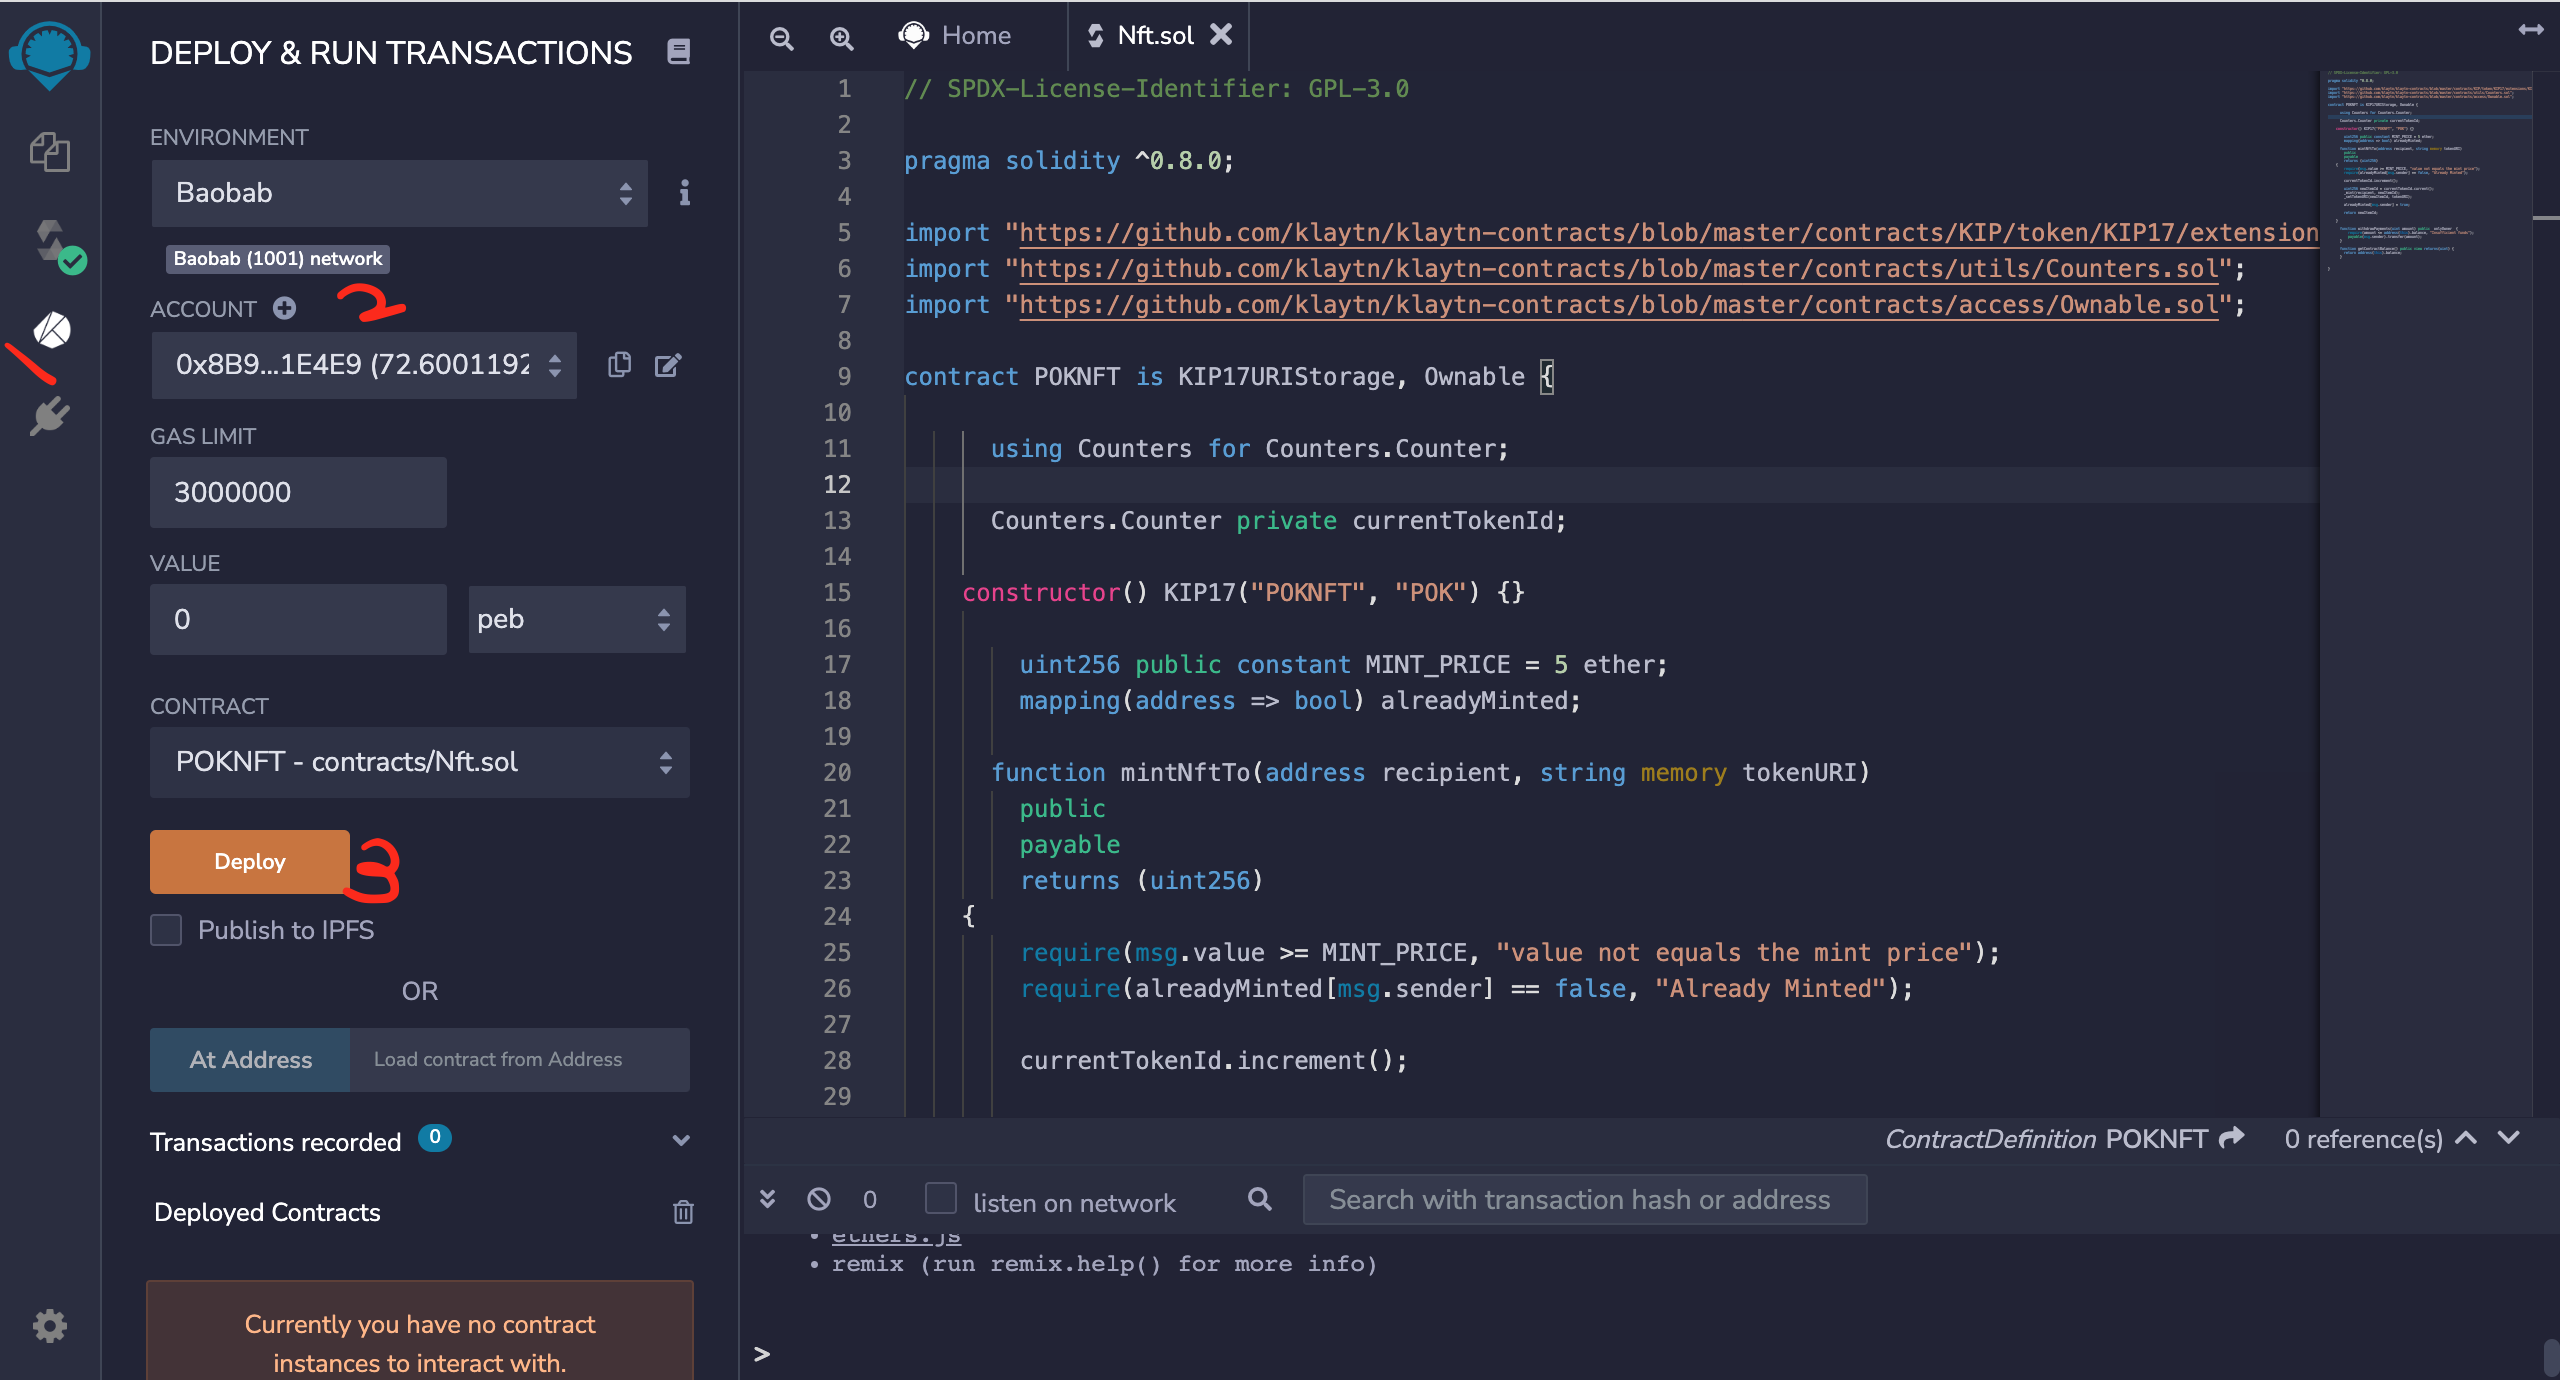
- After deploying, you should see a successful transaction in your terminal.
Congratulations on deploying your KIP-17 token contract to Baobab!!
Building the Front-end
We would be building the core functional part of the bApp together. And i will like to split it into two:
Connect wallet button
Mint button
You can customize and style your bApp whichever way you want it!!
Before going into that, i would love to quickly talk about using webpack. If you are familiar using it then goodluck! If you re not then navigate to the docs. So we have our project structured like this below:
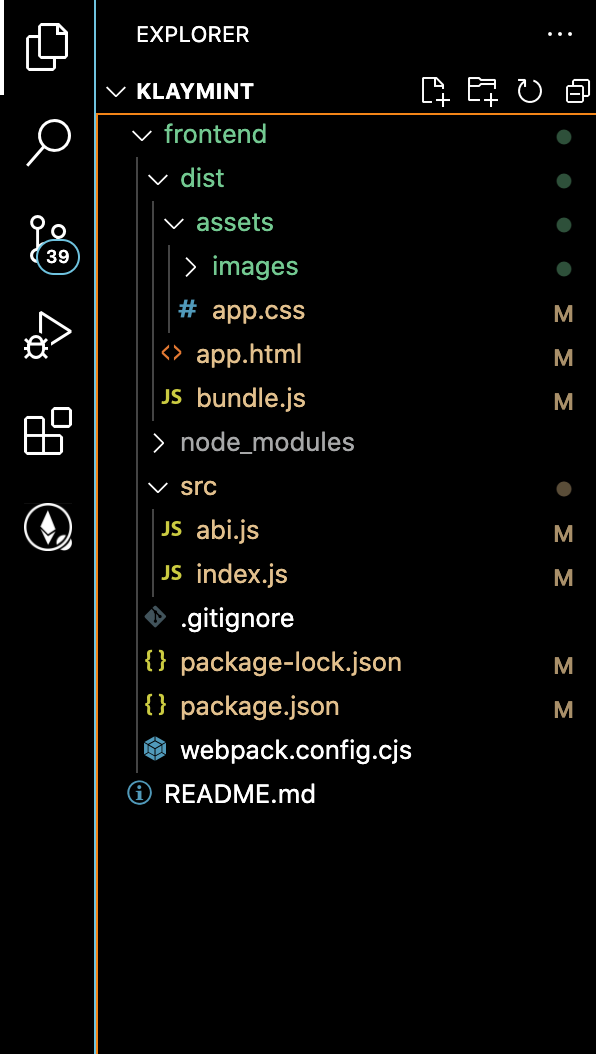
Yay! Now that you have done that, lets open src/index.js and write all our bApps functionality. This would all be bundled up in dist/bundle.js which is referenced in our dist/index.html
Lets run this command to bundle our file
npm run build
A. Connect Wallet Button
HTML in dist/index.html
        <div class="connect">
                <button>Connect Wallet</button>
                <div class="balDisp"></div>
          </div>
JS in dist/index.js
// connect button
const connectBtn = document.querySelector(".connect button");
connectBtn.addEventListener("click", (e) => {
  init();
});
init function
  // stores selected account
let selectedAccount;
// state of initialization
let initialized = false;
let nftContract;
// KIP-17 token contract address
const nftContractAddr = "your deployed contract address";

const init = async () => {
       // checks if kaikas is available;
    if (window.klatyn !== 'undefined') {
       // checks connected network
        if (window.klaytn.networkVersion == '8217') return console.log('Change to BaoBab')
       // connects the user to kaikas
        const accounts = await klaytn.enable();
       // gets the connected account
        const account =  accounts[0];
        selectedAccount = accounts[0];
         // gets the KLAY balance of the provided address
        const balance = await cav.klay.getBalance(account);
        setUserInfo(account, Number(caver.utils.fromPeb(balance, 'KLAY')).toFixed(2));
        // subscribe to changes in account
        klaytn.on('accountsChanged',  async (accounts) => {
            // function that sets users address and Klay balance
            setUserInfo(accounts[0], Number(caver.utils.fromPeb(await cav.klay.getBalance(accounts[0]), 'KLAY')).toFixed(2));
            selectedAccount = accounts[0];
        })
    }
    // setting the instance of the contract
    nftContract = new cav.klay.Contract(abi, nftContractAddr);
     initialized = true;
}
setUserInfo
  // set userInfo (addrress and native token bal)
function setUserInfo(account, balance) {
  connectBtn.innerText = addressShortener(account);
  balDisp.style.display = "block";
  balDisp.innerHTML = `${balance} <span>KLAY</span>`;
  document.querySelector("#addr").value = account;
}
Some things to put in mind
nftContract = new cav.klay.Contract(abi,nftContractAdrr)
This helps us set the instance of the nft token contract. This gives us access to call the contract functions as such we would need its ABI and contract address as seen above. The contractAddress which houses the contract code has been provided. While the ABI which is the json representation of all contracts function can be gotten here.
After we have that set, when we click our connect wallet button, we should have this result:

B. Mint button
HTML in dist/index.html
  <div class="searchElement">
     <input type="text" name="addr" id="addr" placeholder="Input address...">
     <button id="mintBtn" class="mintBtn">
        Mint
      </button>
   </div>
JS in dist/index.js
    const mintBtn = document.querySelector(".mintBtn");
    const URI =
"https://bafybeidnr2spdfjjmyxuqzvfi3v2ik4u23f7h2ct43iwghrro323xaomja.ipfs.nftstorage.link/metadata/1";

    mintBtn.addEventListener("click", async (e) => {
      const addr = document.querySelector("#addr");
      mintTo(addr.value, URI);
    });
Note: The same process for hosting our metadata details on nft storage as explained in the previous article was applied to generate the new uri above.
mintTo Function
  const mintTo = async (addr, uri) => {
  if (!initialized) {
    await init();
  }

    // checks if the address is a klaytn address
  const recAddr = caver.utils.isAddress(addr);

  if (recAddr != true) {
    alert("Invalid Address");
    return;
  }

   // sends transaction to the contract
  nftContract
    .send(
      { from: selectedAccount, gas: 1500000, value: "5000000000000000000" },
      "mintNftTo",
      addr,
      uri
    )
    .then(async (result) => {
      const balance = await cav.klay.getBalance(addr);
      const formattedBal = formatValue(balance);
      balDisp.style.display = "block";
      balDisp.innerHTML = `${formattedBal.toFixed(2)} <span>KLAY</span>`;
      displayMessage("00", `Yay! you just successfully minted your POK NFT. Navigate to opensea to visualize your NFT`);

      setTimeout(() => {
        notification.style.display = "none";
      }, 5000);
    })
    .catch((err) => {
      displayMessage("01", `Transaction reverted, see console for details`);

      setTimeout(() => {
        notification.style.display = "none";
      }, 5000);
      console.log(err);
    });
};
displayMessage function
This function is responsible for displaying transaction messages on success / error after calling the mintToNft function.
 // display transaction  on success / revert
const notification = document.querySelector(".notification");
const notificationContent = document.querySelector(".notification .notContent");

function displayMessage(messageType, message) {
  const messages = {
    "00": `
                <p class="successMessage">${message}</p>
           `,
    "01": `
                 <p class="errorMessage">${message}</p>
        `,
  };
  notification.style.display = "block";
  notificationContent.innerHTML += messages[messageType];
}
That's all the major functionalities for minting our nft.
And our app is ready to go!
Also, the full source code is available here on GitHub
Testing our bApp
To test our minting functionality, you have to answer some question about Klaytn. This was incorporated for the fun of it and also to test our knowledge about Klaytn so far. As such to have access to the mint button, you need to have greater than 50% in total score.
The live link to our bApp is here
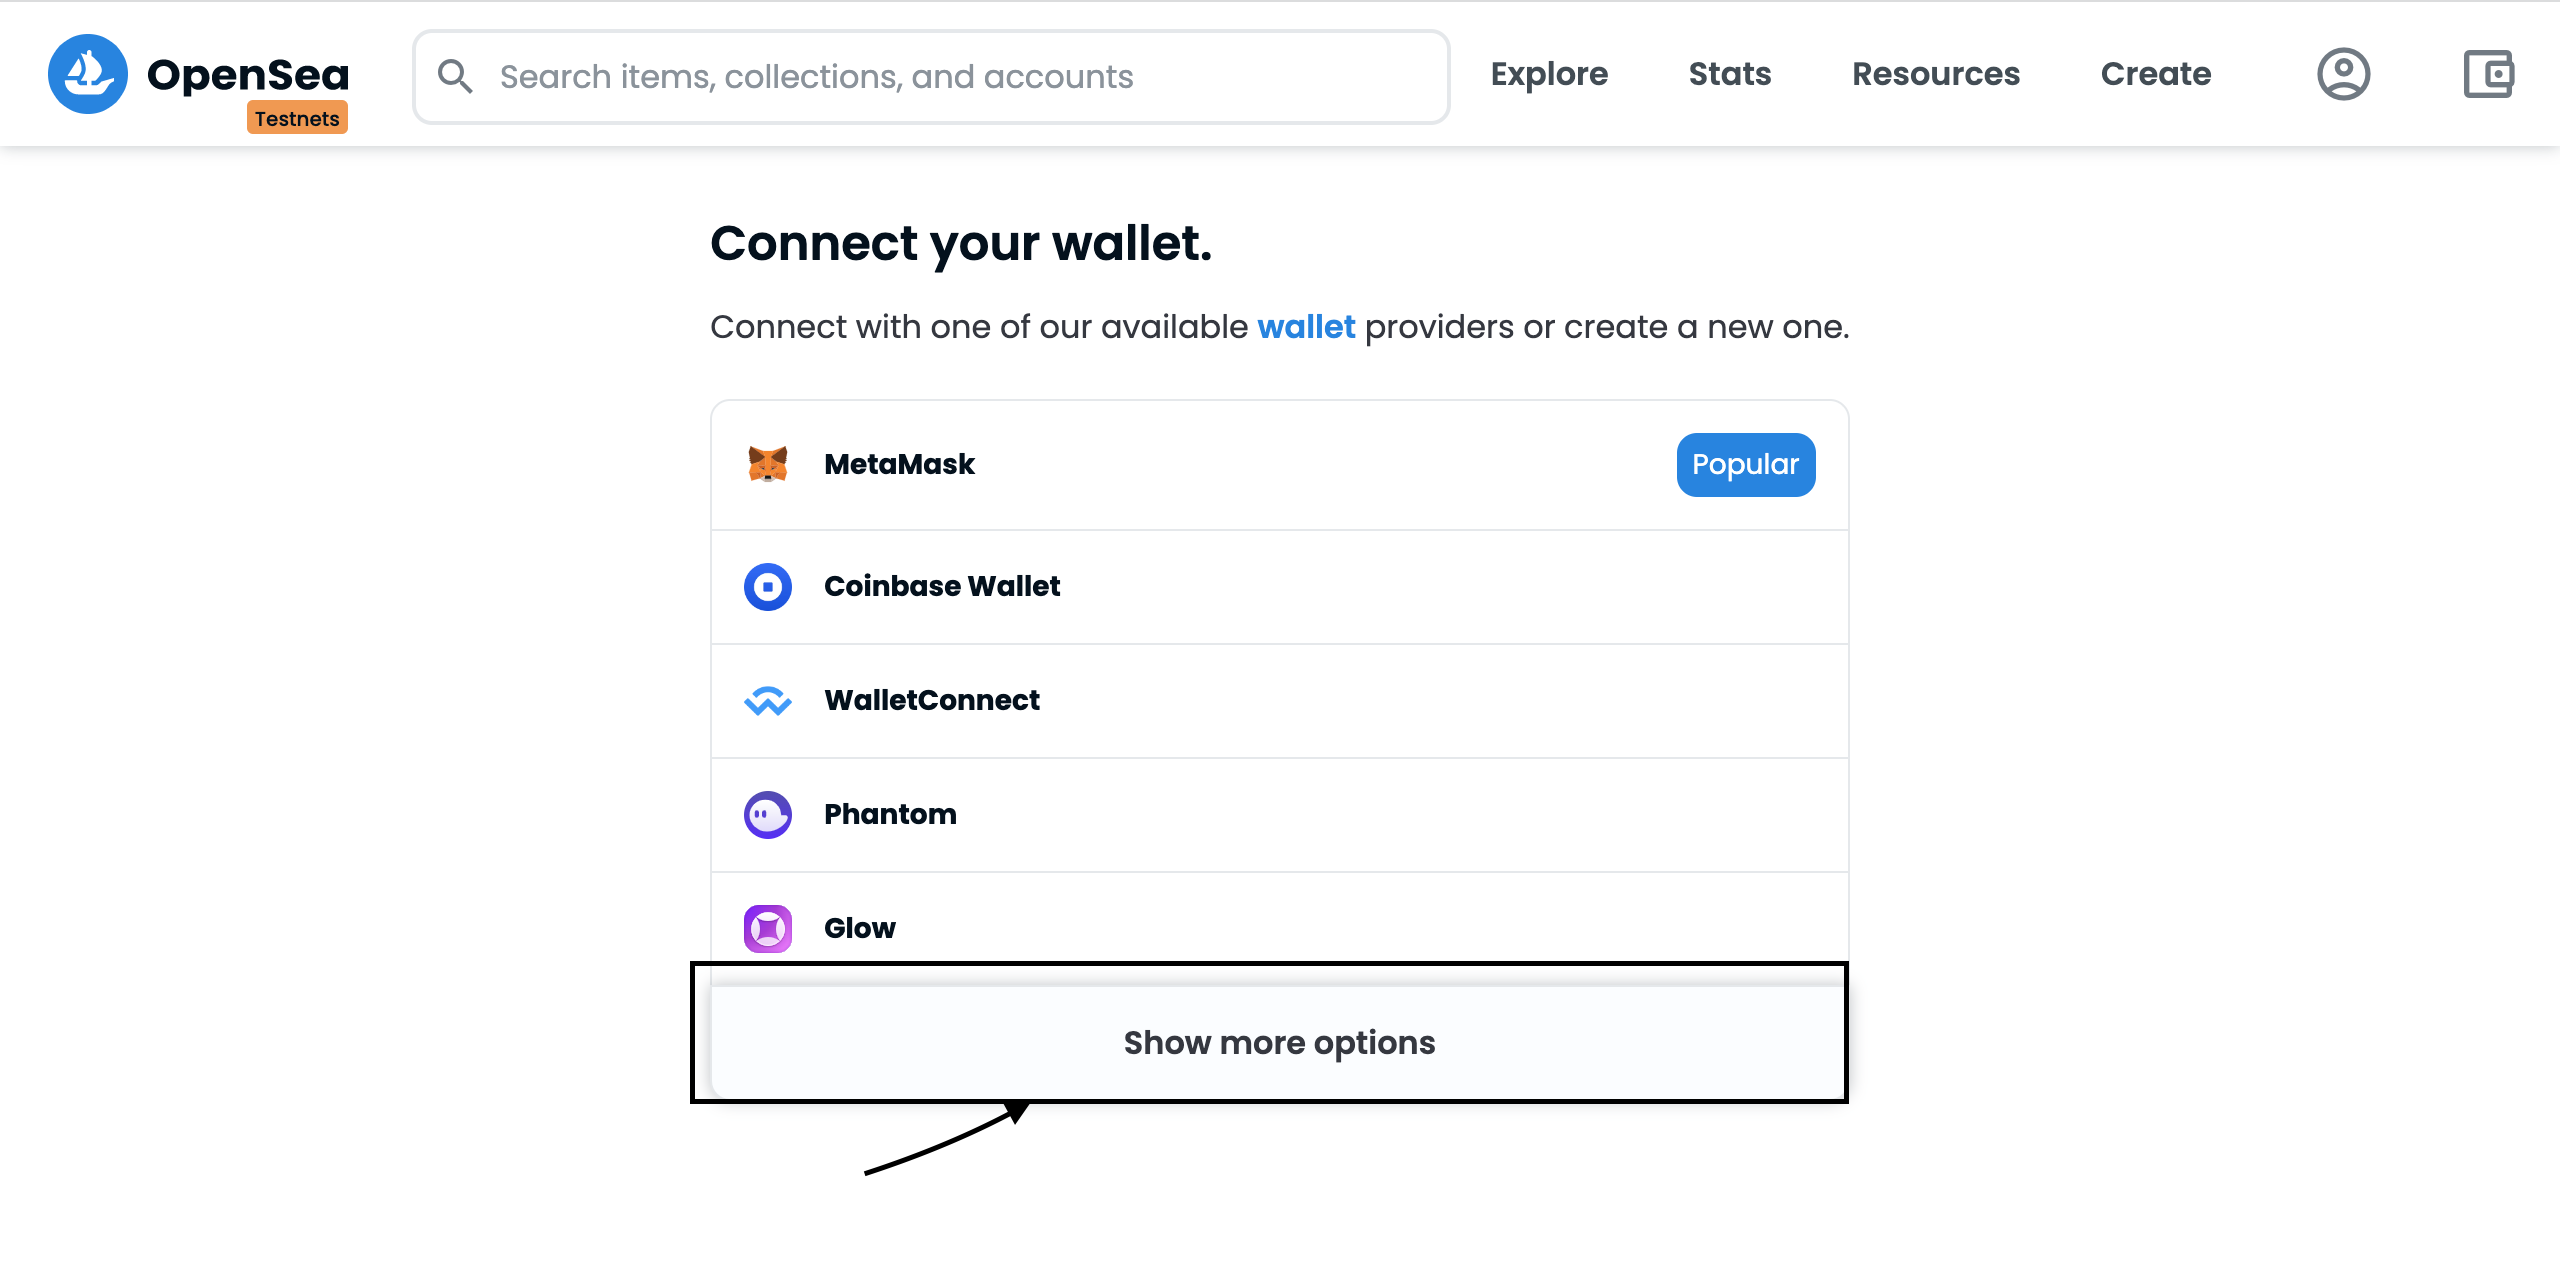
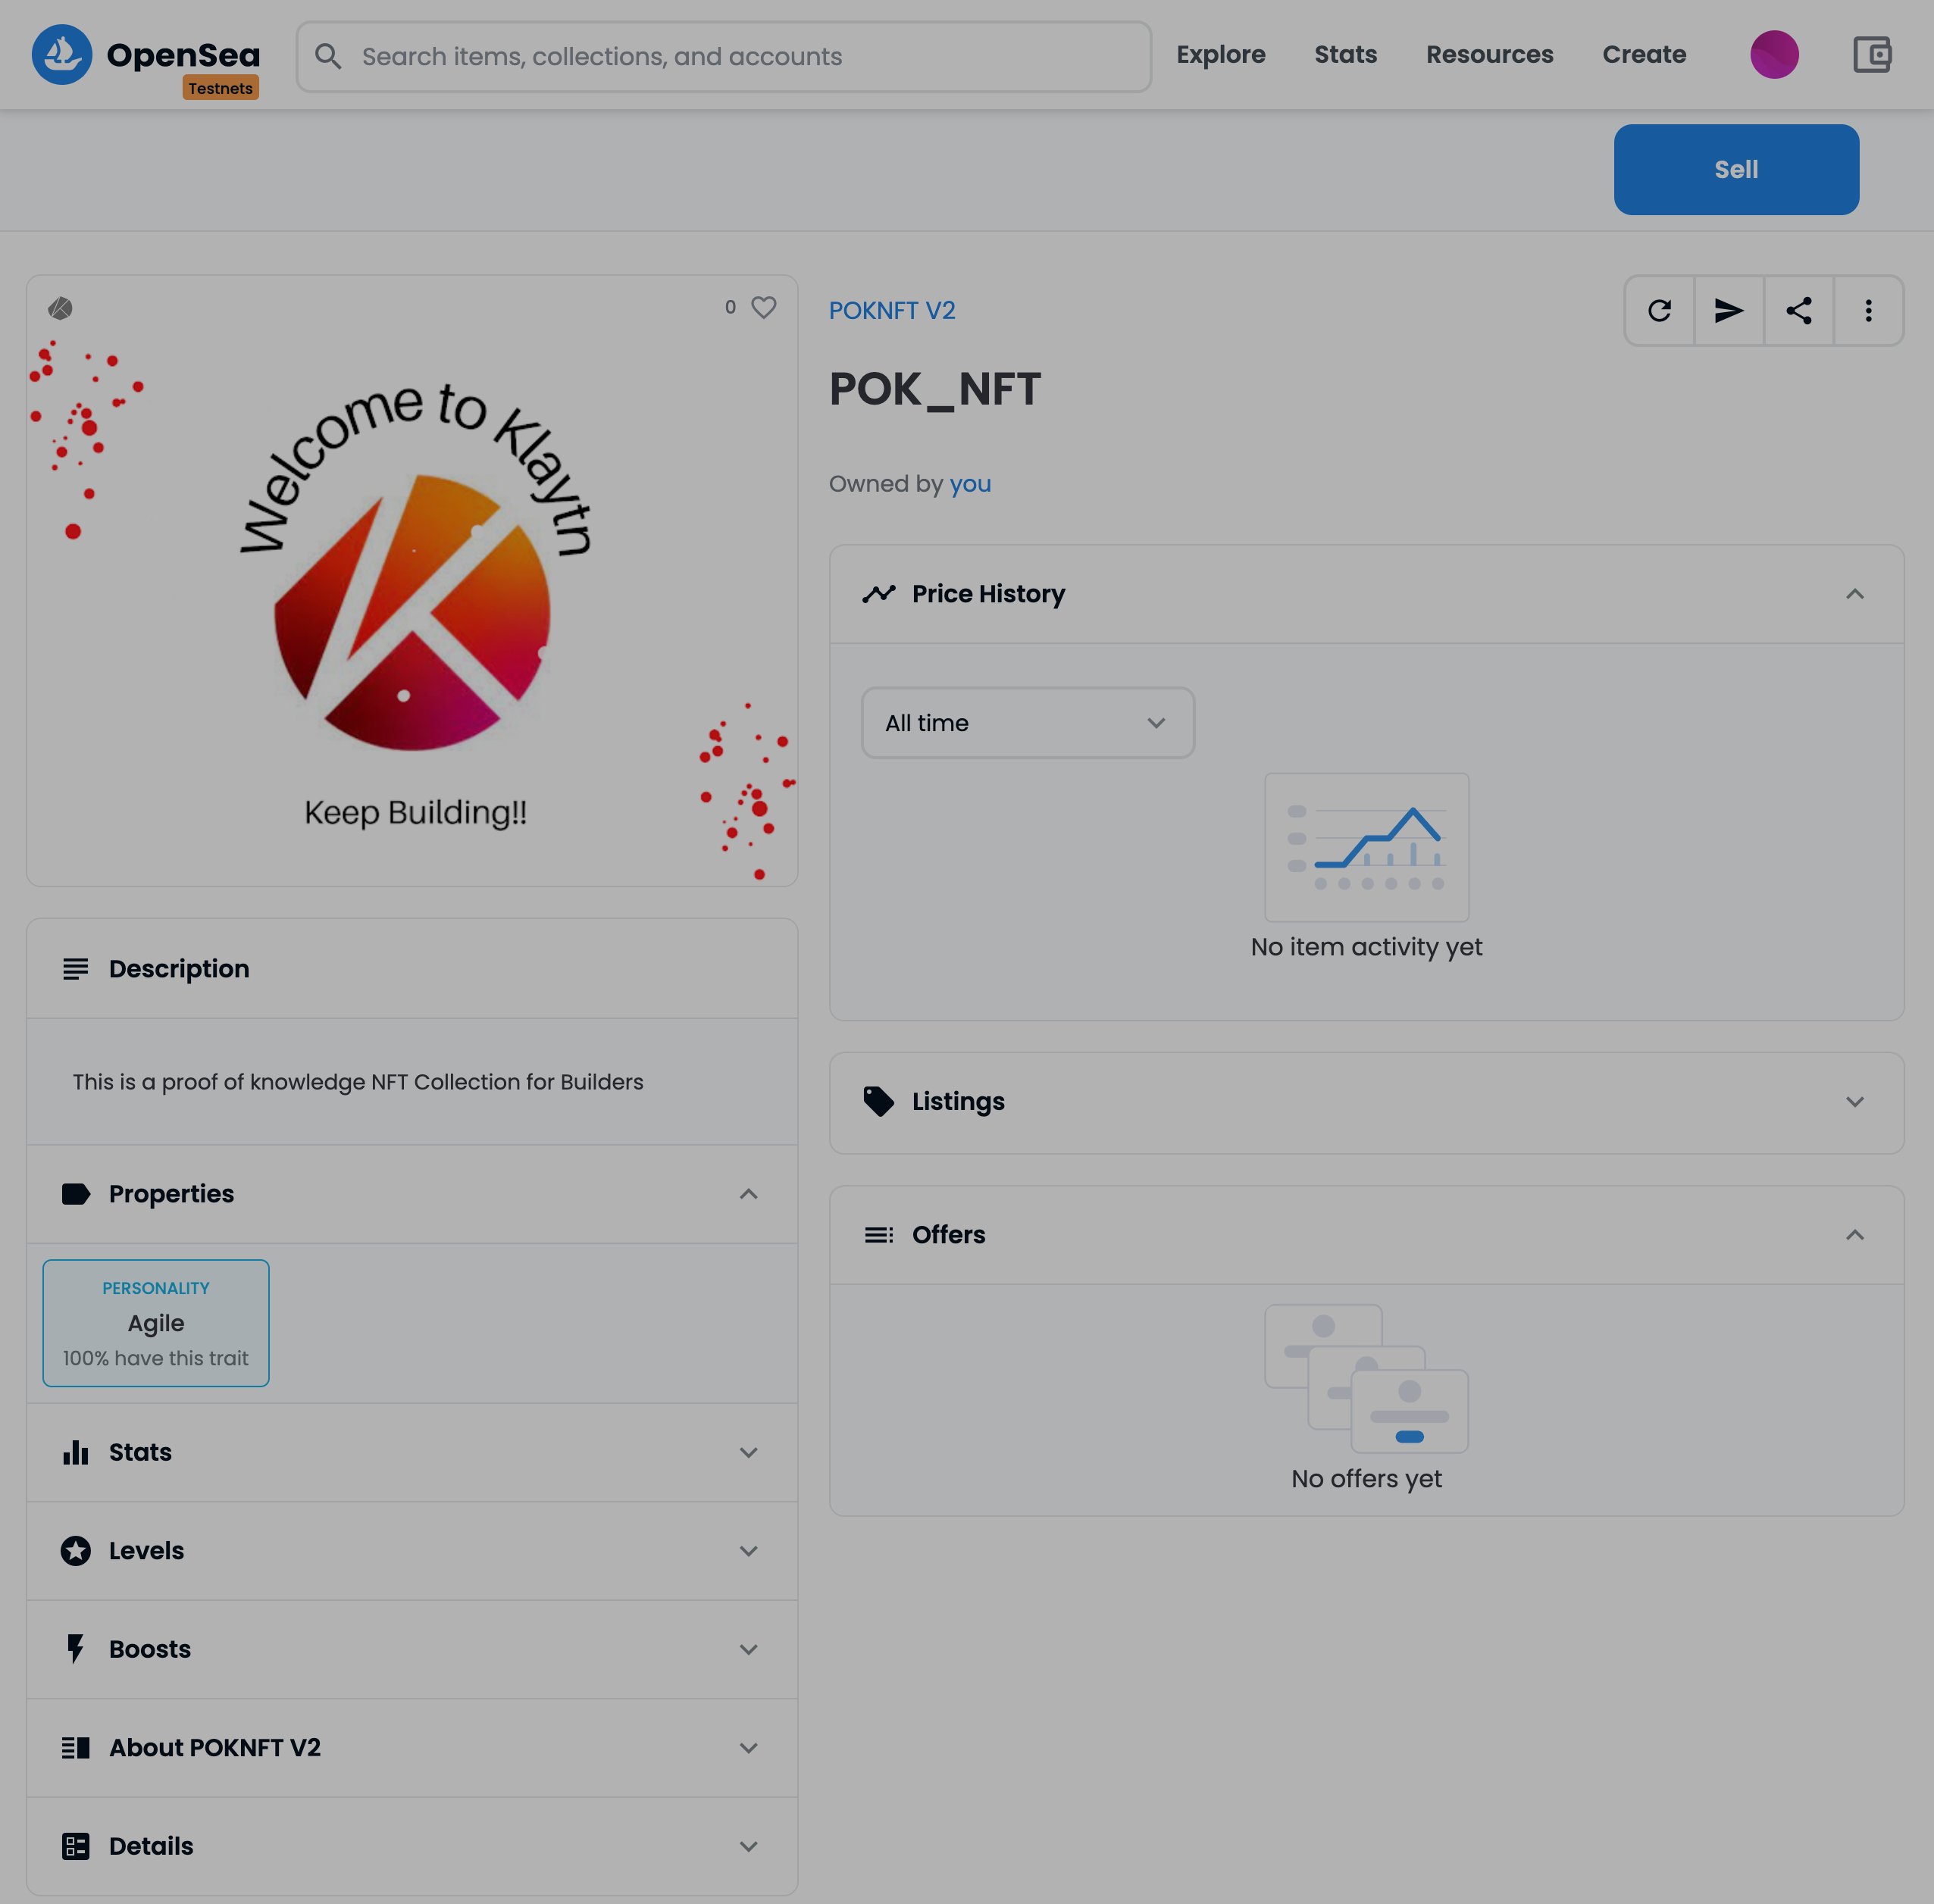
And yes you will earn a POK_NFT for successfully answering the questions after minting. Head over to OpenSea to view your asset as seen below:
Conclusion
Congratulations on making it until the end!
In this tutorial, we did learn about interacting with smart contracts using caver-js and also learnt how to deploy a KIP-17 smart contract on baobab with the Klaytn IDE.
If you have any questions, suggestions or comments, drop them below, or reach out to me on Twitter
Happy Buidling!!!!


