The Beginner's Guide to Kaikas

In this new evolution of the web, there is an increase in the rate at which blockchain applications (BApps) emerge. BApps are created to be interacted with and as such how else would users interact with these applications if there are no gateways? In order for users to communicate easier with blockchains, developers creates solutions that allow web applications to interact with blockchains.
If you have been building on Ethereum, you would be familiar with the core gateway to Bapps - Metamask and the main topic for this article - Kaikas is a core gateway to help users interact with Klaytn network from websites.
What is Kaikas ?
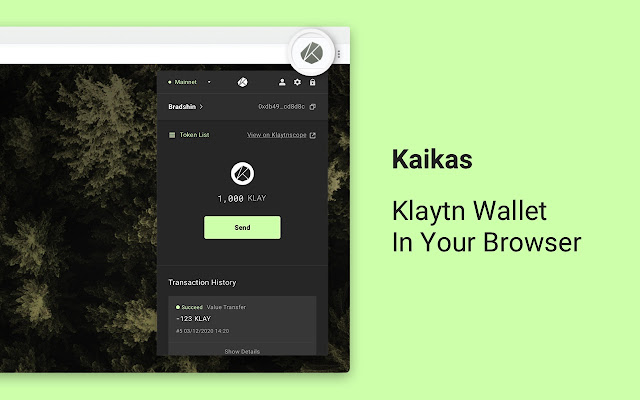
Kaikas is a browser extension that provides a secure and usable means to interact with the Klaytn network from websites. In particular, it handles account management and connects the user to the blockchain. The extension can be installed like any other plugin on chrome webstore, and it allows users to store KLAY and also add custom tokens. This gives the user the functionality to transfer tokens to any Klaytn address.
Kaikas supports Chrome on Windows, Mac, and Linux.
Getting Started With Kaikas
Getting started in the crypto world might seem difficult and navigating through might be somewhat uneasy, especially for beginners. However, as we drive for more adoption and as users make use of BApps, tools and applications often mature to become more user-friendly. Kaikas is one of the easier Klaytn wallets to use. Setting up Kaikas will only take a few minutes in most cases and is relatively easy.
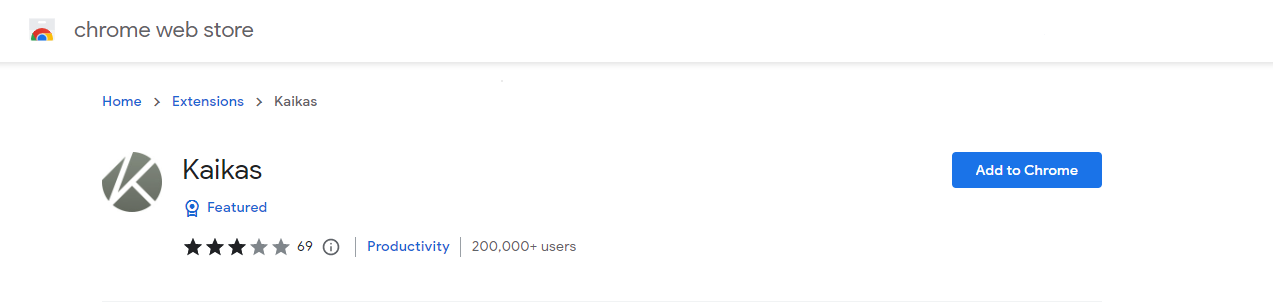
The first step in using Kaikas is to download a browser such as Chrome that supports the extension. Once this is done, the next step is to download the extension itself here
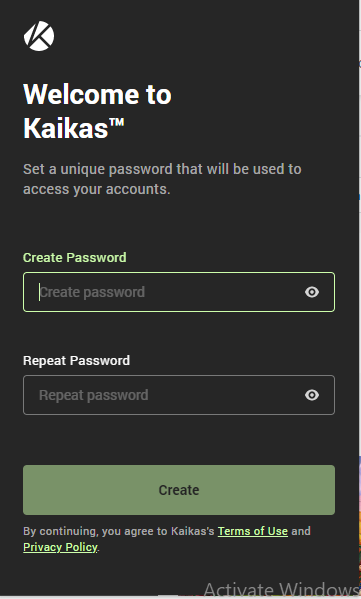
As soon as it has been downloaded and installed, Kaikas opens up a tab for creating an account by setting the password. This gives the user the ability to start using Kaikas.
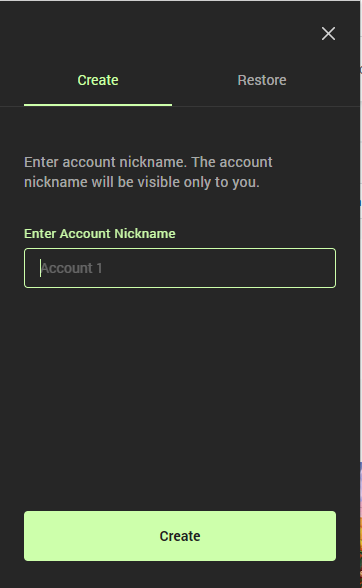
After creating your password, it opens a tab for setting the account nickname as seen below
After this process, Kaikas opens up a security guide tab which you are expected to read. The next step is to store your seed phrase safely.
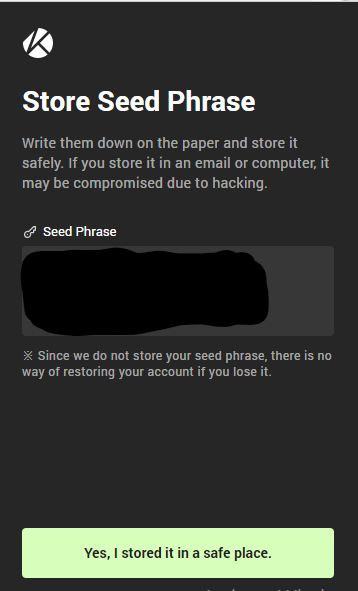
After storing your seed phrase, you're expected to verify it. After the verification, it takes you to the main kaikas wallet interface
Now we're done with installing and creating a new account on Kaikas. Now, let's move to its usage.
Using Kaikas
As soon as the setup process is finished, you can access and use all the features that Kaikas offers. In this guide, I will be focusing on a few features and then you can explore the rest yourself.
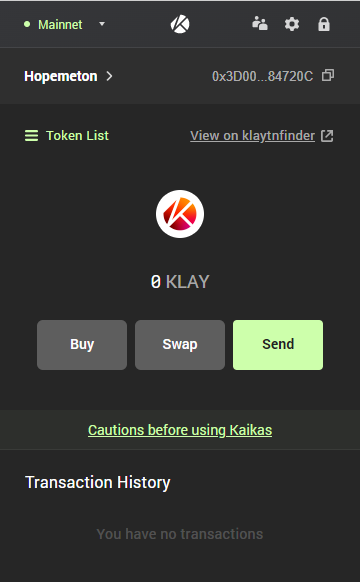
- Buy, Swap and Send
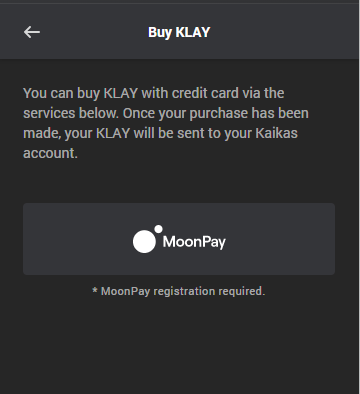
There are three buttons users can click to perform different actions. These are “Buy”, “Swap”, and “Send” and they are all pretty straightforward. Pressing the buy button takes you here as it is important to know that the wallet needs to have Klay to interact with BApps.
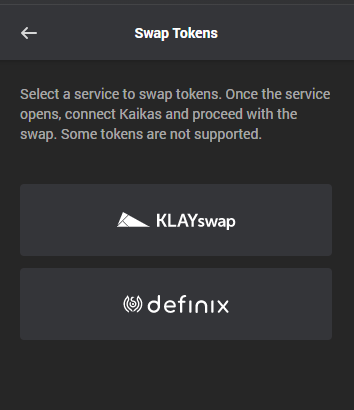
Clicking the Swap button allows you to swap one token for another. For example, you can swap KLAY for KDAI.
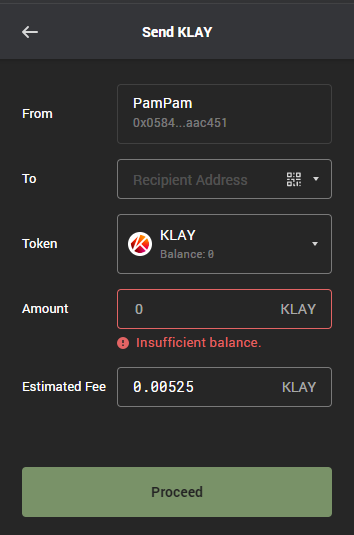
Clicking the send button will allow you to send currency to another wallet. All you need is the recipient’s address and sufficient funds that you would like to send.
- Account Details
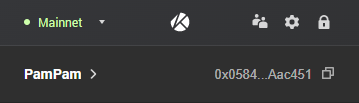
This section helps us manage account details such as wallet address, managing wallet keys (private keys and all). To navigate to account details, click on the account nickname button as seen below
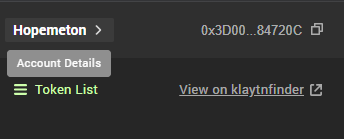
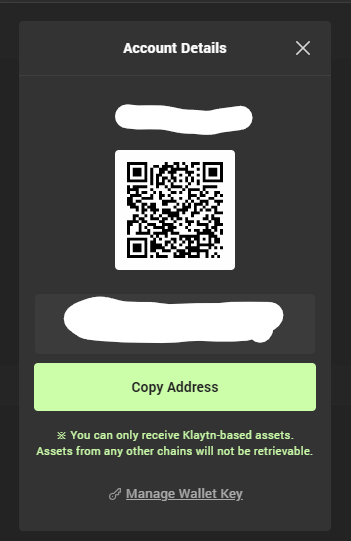
After clicking, It brings out the tab for managing account details as seen below
- Manage Account
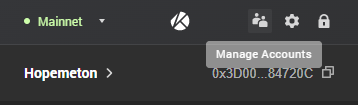
This helps us to create multiple accounts in our wallet. To navigate to manage account, click on the person icon as seen below
After clicking, It brings out the tab for managing accounts as seen below
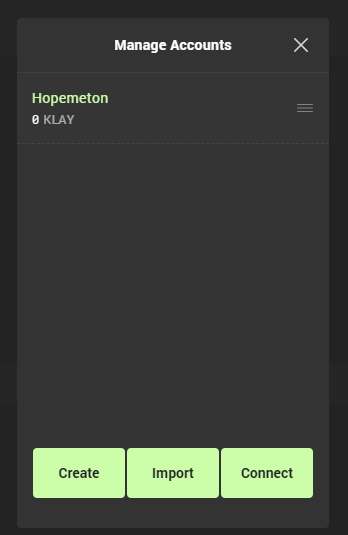
With this tab, you can create a new account, import and connect account.
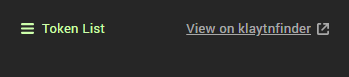
- View and Add Tokens With this feature, you can view a list of your tokens and add tokens to your wallet. To do this, click on the token list icon as seen below
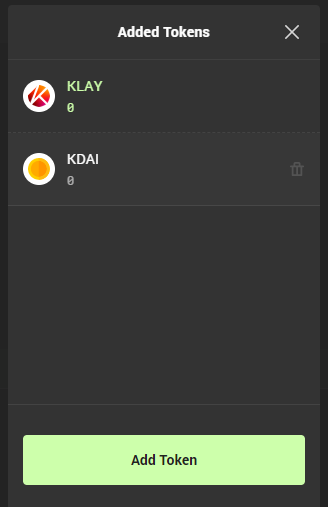
After clicking, it brings out the tab listing your tokens and a button for adding tokens.
Let's get to add tokens to our wallet. Click on the add token button as seen below
After clicking, it takes you to the tab to search for tokens to be added or add your custom tokens
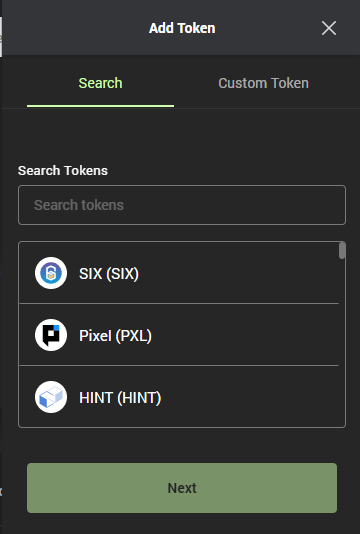
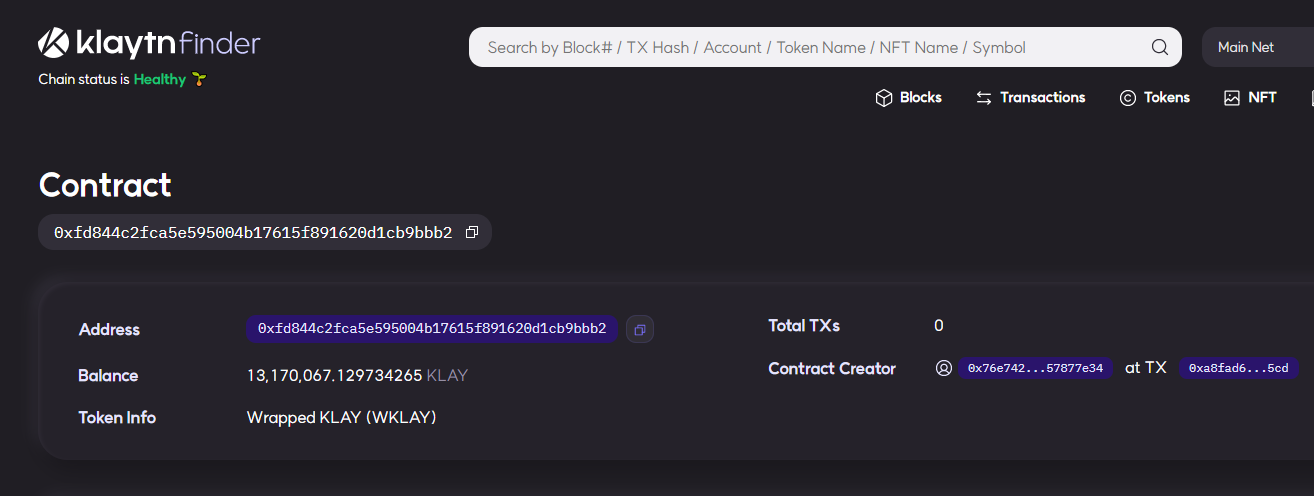
Adding custom tokens requires you to input the contract address of the token. This means you must have the contract address of the token. You can search for the token address on KlaytnFinder.
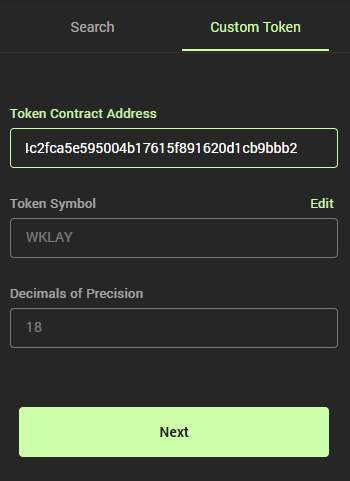
So let's search for Wrapped KLAY and add it to our Wallet.
Copy the address of WKLAY and add to your wallet.
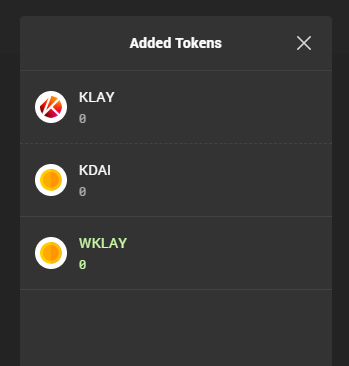
Yay!! We have finally added our tokens
That's all I will be showing for the features in Kaikas. Kaikas is quite simple to navigate and easy to understand.
Others
The Klaytn chain has two networks the Cypress(mainnet) and Baobab which serves as the testnet. It is important to know that the wallet needs to contain Klay to interact with BApps on both networks. We can buy KLAY as explained above or from exchanges here to fund our Cypress account balance.
In a case where we are building or interacting with BApps on Baobab Network, we can fund the account by requesting KLAY from a faucet here.
Conclusion
Kaikas is a chrome browser extension that helps users access the decentralized web. It is an easy-to-use extension that most people can easily navigate.
Kaikas is, therefore, an excellent gateway to the world of blockchain applications that anyone can access. It does not matter if you are at home on your computer, you can still access all the features that Kaikas provides. If you want to learn more about kaikas, you can check out it docs
That would be all for this guide. If you have any questions, suggestions or comments, drop them below, or reach out to me on Twitter!
Happy Buidling!!!!


