Build, Deploy and Mint KIP17 Token on Klaytn
Learn how to create, deploy and mint KIP17 NFTs using Hardhat + Visualize your NFT on Opensea.

Introduction
With the recent boom and increasing popularity of NFT's (Non-fungible Tokens), enthusiasts, users and developers are looking for ways to explore and build around this innovation. Different use cases ranging from gaming, digital ownership, virtual worlds, proof of membership, and much more have been emerging in recent times and all are practical real world uses to explore.
With that said, this is an excellent opportunity to understand this innovation yourself by deploying your own NFT (KIP-17 Token) on the Klaytn blockchain.
So let's get started! In this tutorial, we’ll go through the following:
What is Non-Fungible Token?
What is KIP-17?
Getting Started
Writing KIP-17 Smart Contract
Creating and Uploading Metadata
Minting and Visualizing our NFT
Conclusion
What is a Non-Fungible Token?
A Non-Fungible Token (NFT) is used to identify something or someone that has unique characteristics and values. This type of token is perfect to be used on platforms that offer collectible items, lottery tickets, numbered seats for concerts and sports matches, etc. This special type of token has amazing possibilities, and it’s important that some form of standard regulates them. The KIP-17 solves just that!
What is KIP-17?
KIP stands for Klaytn Improvement Proposal, and 17 is the proposal identifier number. KIP's are application-level standards in the Klaytn ecosystem. The KIP-17 standard allows for the implementation of a standard API for NFTs within smart contracts. This standard provides basic functionality to track and transfer NFTs. NFTs can represent ownership over digital or physical assets such as:
- Physical property — houses, unique artwork
- Virtual collectibles — unique pictures of kittens, collectible cards
- "Negative value" assets — loans, burdens and other responsibilities
Click here to learn more about this standard.
What we are building
In this guide, we will walk through creating and deploying KIP-17 smart contract on the Klaytn test network using Solidity ↗, Hardhat ↗, Kaikas ↗, Nft Storage ↗.
By the end of this tutorial - you'll be able to mint an NFT and visualize it on Opeansea↗.

Getting Started
1. Prerequisites
To follow this tutorial, the following are the pre-requisites:
Not familiar with the above? Learn the basics by clicking the links above, before proceeding with this tutorial.
2. Setting Up Development Environment
To make use of hardhat, we need to set up our development environment and get hardhat installed. Let's do this in the following steps:
- Step 1: Open your projects folder in your terminal and run
git clone https://github.com/AyDeveloper/Hardhat_Klaytn_Example.git
cd Hardhat_Klaytn_Example
- Step 2: Install dependencies by running this command
npm install
- Step 4: Create a .env file
Now lets create our .env file. This file helps us load environment variables from a .env file into process.env. After creating our file, let's configure our .env file to look like this:
 KLAYTN_URL='https://api.baobab.klaytn.net:8651'
 PRIVATE_KEY= your private key copied from kaikas wallet
- Step 4: Setup Hardhat Configs
We are only adding the gasPrice field in our project
const config: HardhatUserConfig = {
  solidity: "0.8.4",
  networks: {
    klaytn: {
      url: process.env.KLAYTN_URL || "",
      gasPrice: 250000000000,
      accounts:
        process.env.PRIVATE_KEY !== undefined ? [process.env.PRIVATE_KEY] : [],
    },
  },
  gasReporter: {
    enabled: process.env.REPORT_GAS !== undefined,
    currency: "USD",
  },
  etherscan: {
    apiKey: process.env.ETHERSCAN_API_KEY,
  },
};
Now that we have our development environment all set, lets get into writing our NFT smart contract.
Write, Compile and Deploy KIP-17 Smart Contract
For this guide, we are going to be using the Klaytn contracts library. To utilize this library, run the command below:
npm i @klaytn/contracts
Once this has been installed, navigate to the contracts folder and create a new file called Nft.sol
Below is our NFT smart contract code. Copy and paste the contents below into your myNft.sol file.
// SPDX-License-Identifier: GPL-3.0

//Declare the version of solidity to compile this contract.
pragma solidity ^0.8.0;

//import implementation of KIP-17 from our installed library
import "@klaytn/contracts/KIP/token/KIP17/extensions/KIP17URIStorage.sol";

//imports a library to increment and decrement uint
import "@klaytn/contracts/utils/Counters.sol";

// declares the contract and its  name

contract MYNFT is KIP17URIStorage {

      //a counter to keep track of the tokens minted
      using Counters for Counters.Counter;

      Counters.Counter private currentTokenId;

    // sets the token information: name and symbol
    constructor() KIP17("MYNFT", "MNFT") {}

    // takes in two arguments:
    //address recipient: address that will receive newly minted NFT
    //tokenURI: describes the tokens metadata
      function mintNftTo(address recipient, string memory tokenURI)
        public
        returns (uint256)
    {
        currentTokenId.increment();

        uint256 newItemId = currentTokenId.current();
        _mint(recipient, newItemId);
        _setTokenURI(newItemId, tokenURI);

        return newItemId;
    }
}
Now that we have our contract code, its time to compile and deploy
- To compile our contract, run this command
npx hardhat compile
- To deploy our contract, lets navigate to our scripts folder and modify our deploy.ts file by pasting the following code:
  import { ethers } from "hardhat";


async function main() {
    const deployerAddr = "Your kaikas wallet address";
    const deployer = await ethers.getSigner(deployerAddr);

    console.log(`Deploying contracts with the account: ${deployer.address}`);
    console.log(`Account balance: ${(await deployer.getBalance()).toString()}`);

    //  Fetch the compiled contract using ethers.js
    const myNft = await ethers.getContractFactory("MYNFT");

    // calling deploy() will return an async Promise that we can await on
    const nft = await myNft.connect(deployer).deploy();
    await  nft.deployed();

    console.log(`Contract deployed to address: ${nft.address}`);
}

main()
.then(() => process.exit(0))
.catch((error) => {
    console.error(error);
    process.exit(1);
});
Now run the command below to deploy to baobab
npx hardhat run scripts/deploy.ts --network klaytn
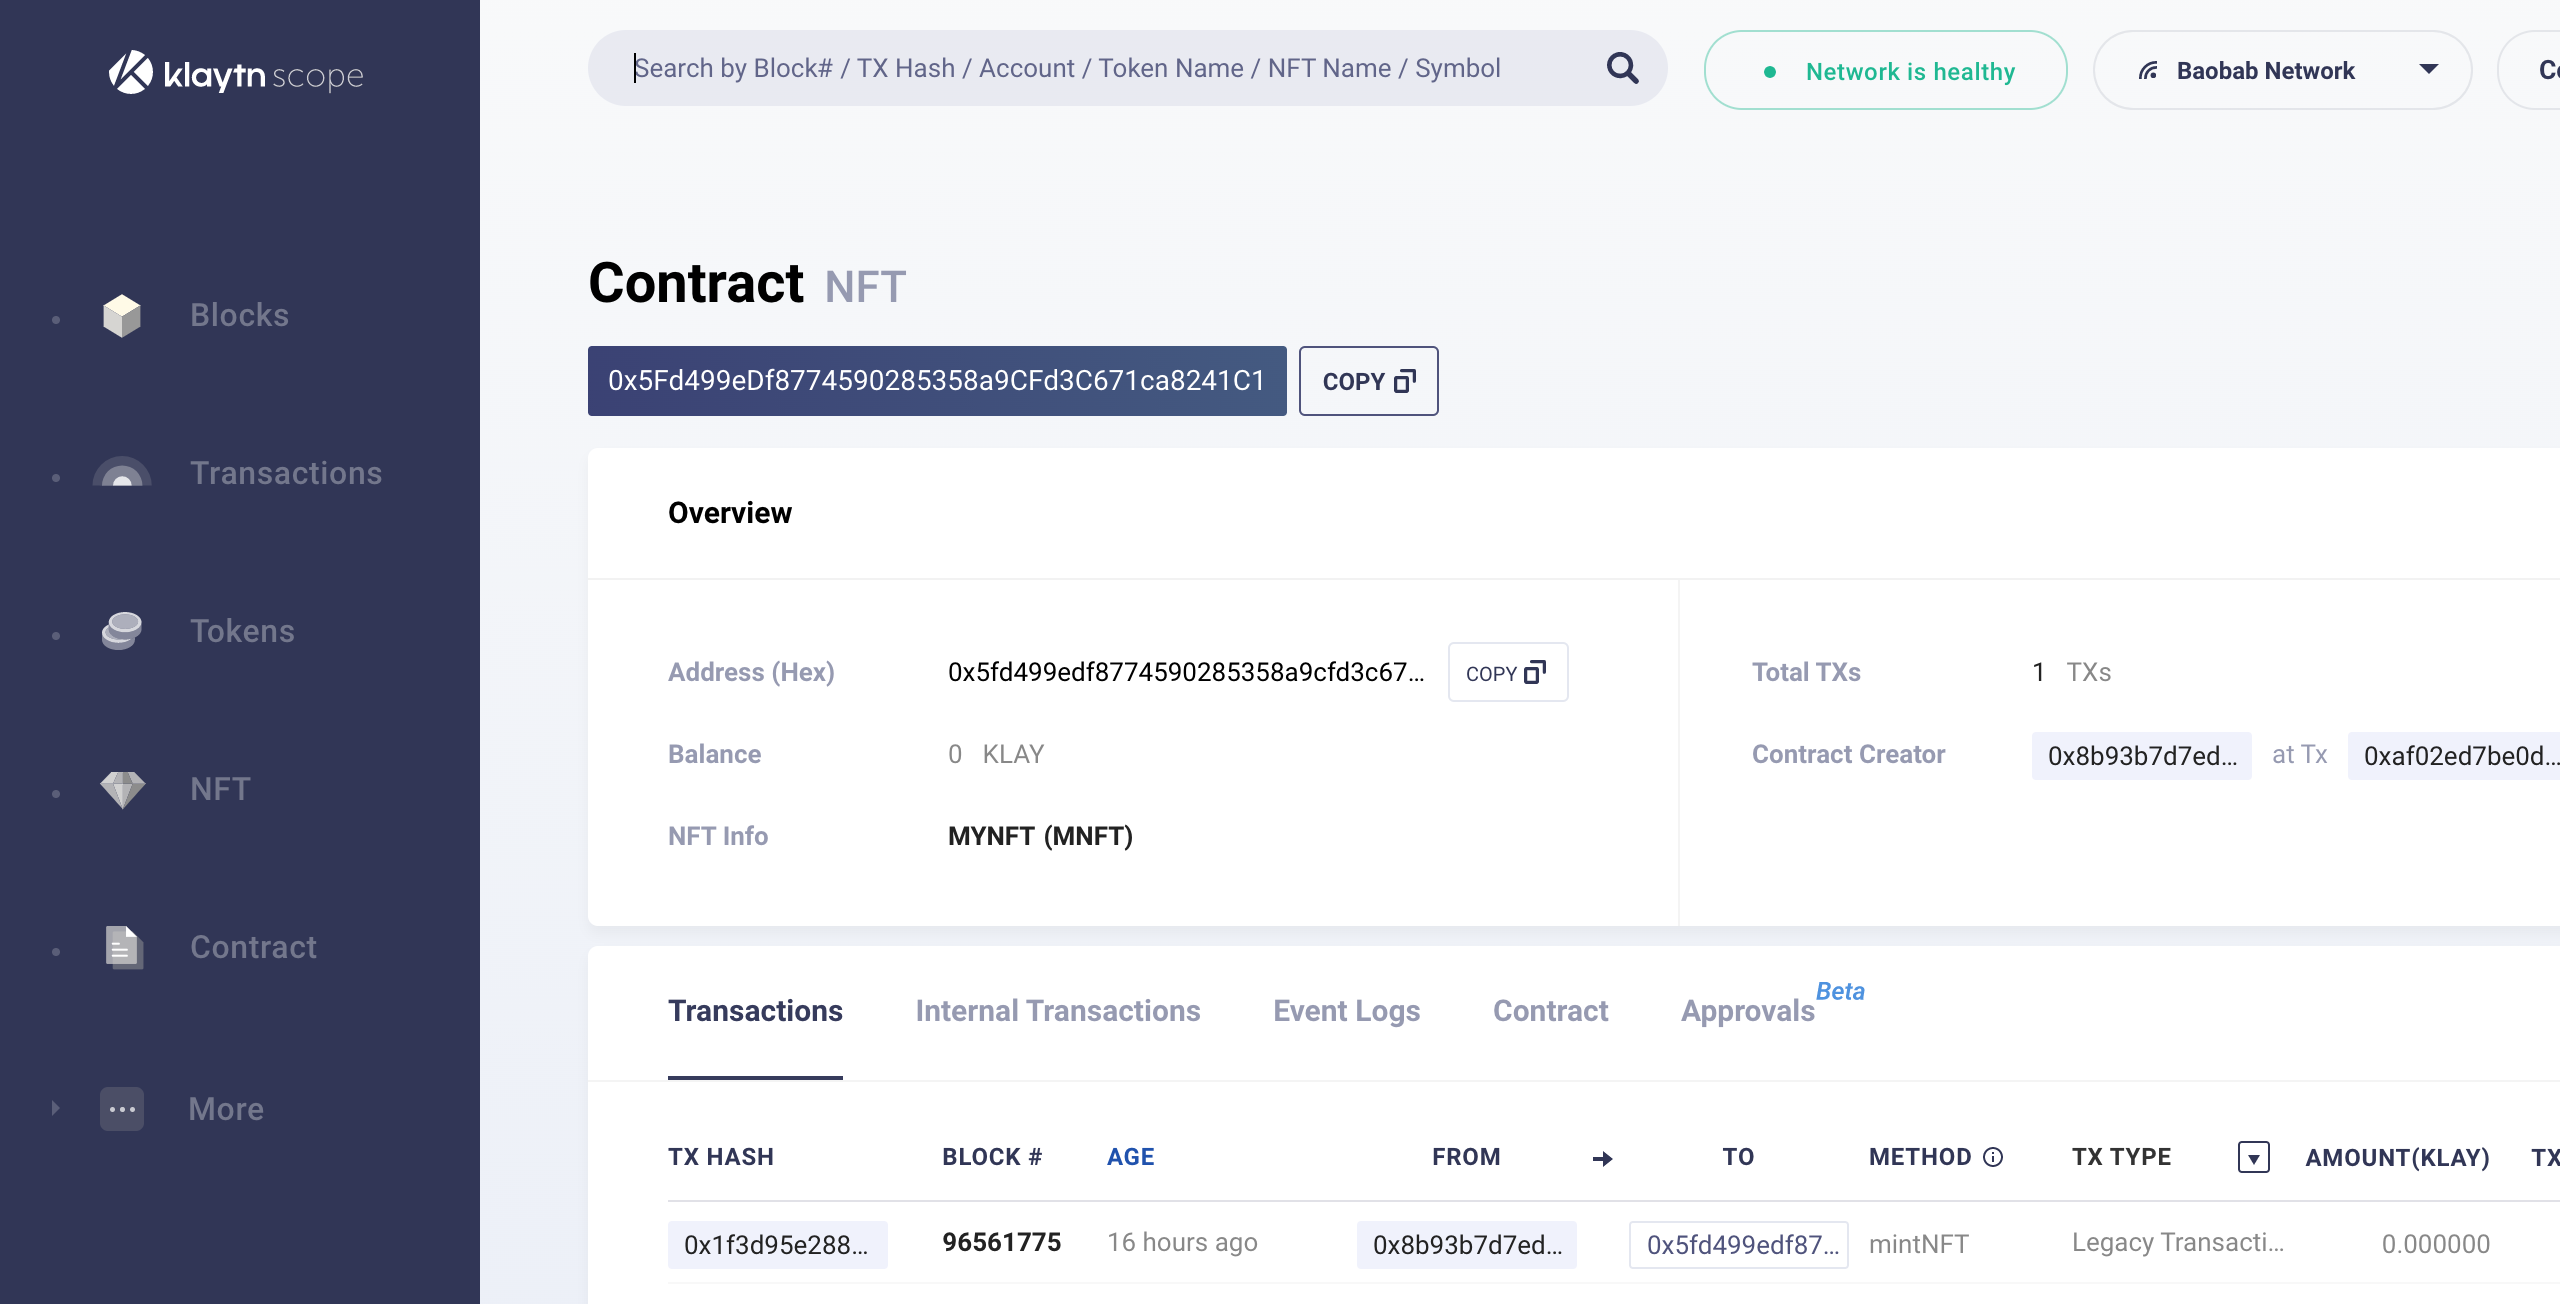
Our Contract was deployed to address: 0x5Fd499eDf8774590285358a9CFd3C671ca8241C1
Lets head over to KlatynScope to view our newly deployed Nft contract
Creating and Uploading Metadata
Create two directories in your project root: /images and /metadata. The /images directory will store all your images, which we will need to upload first and /metadata will store all the JSON files for the tokens in your NFT contract and we will upload all of them at once as a compiled IPFS Car.
Note: We would be using just one image and you can use as much as you want. Feel free to use your own images.
Once you have your images in the /images directory, pack them to an IPFS-compatible CAR using a handy CLI command:
npx ipfs-car --pack images --output images.car
Note: You do not have this package installed and you would be asked to install it by clicking yes after running the above command.
You have this result below
root CID: bafybeighk6vlcaudajgkxxwa5vxc3qkadna6neekxwxncyja55sgu5h4yi output: images.car
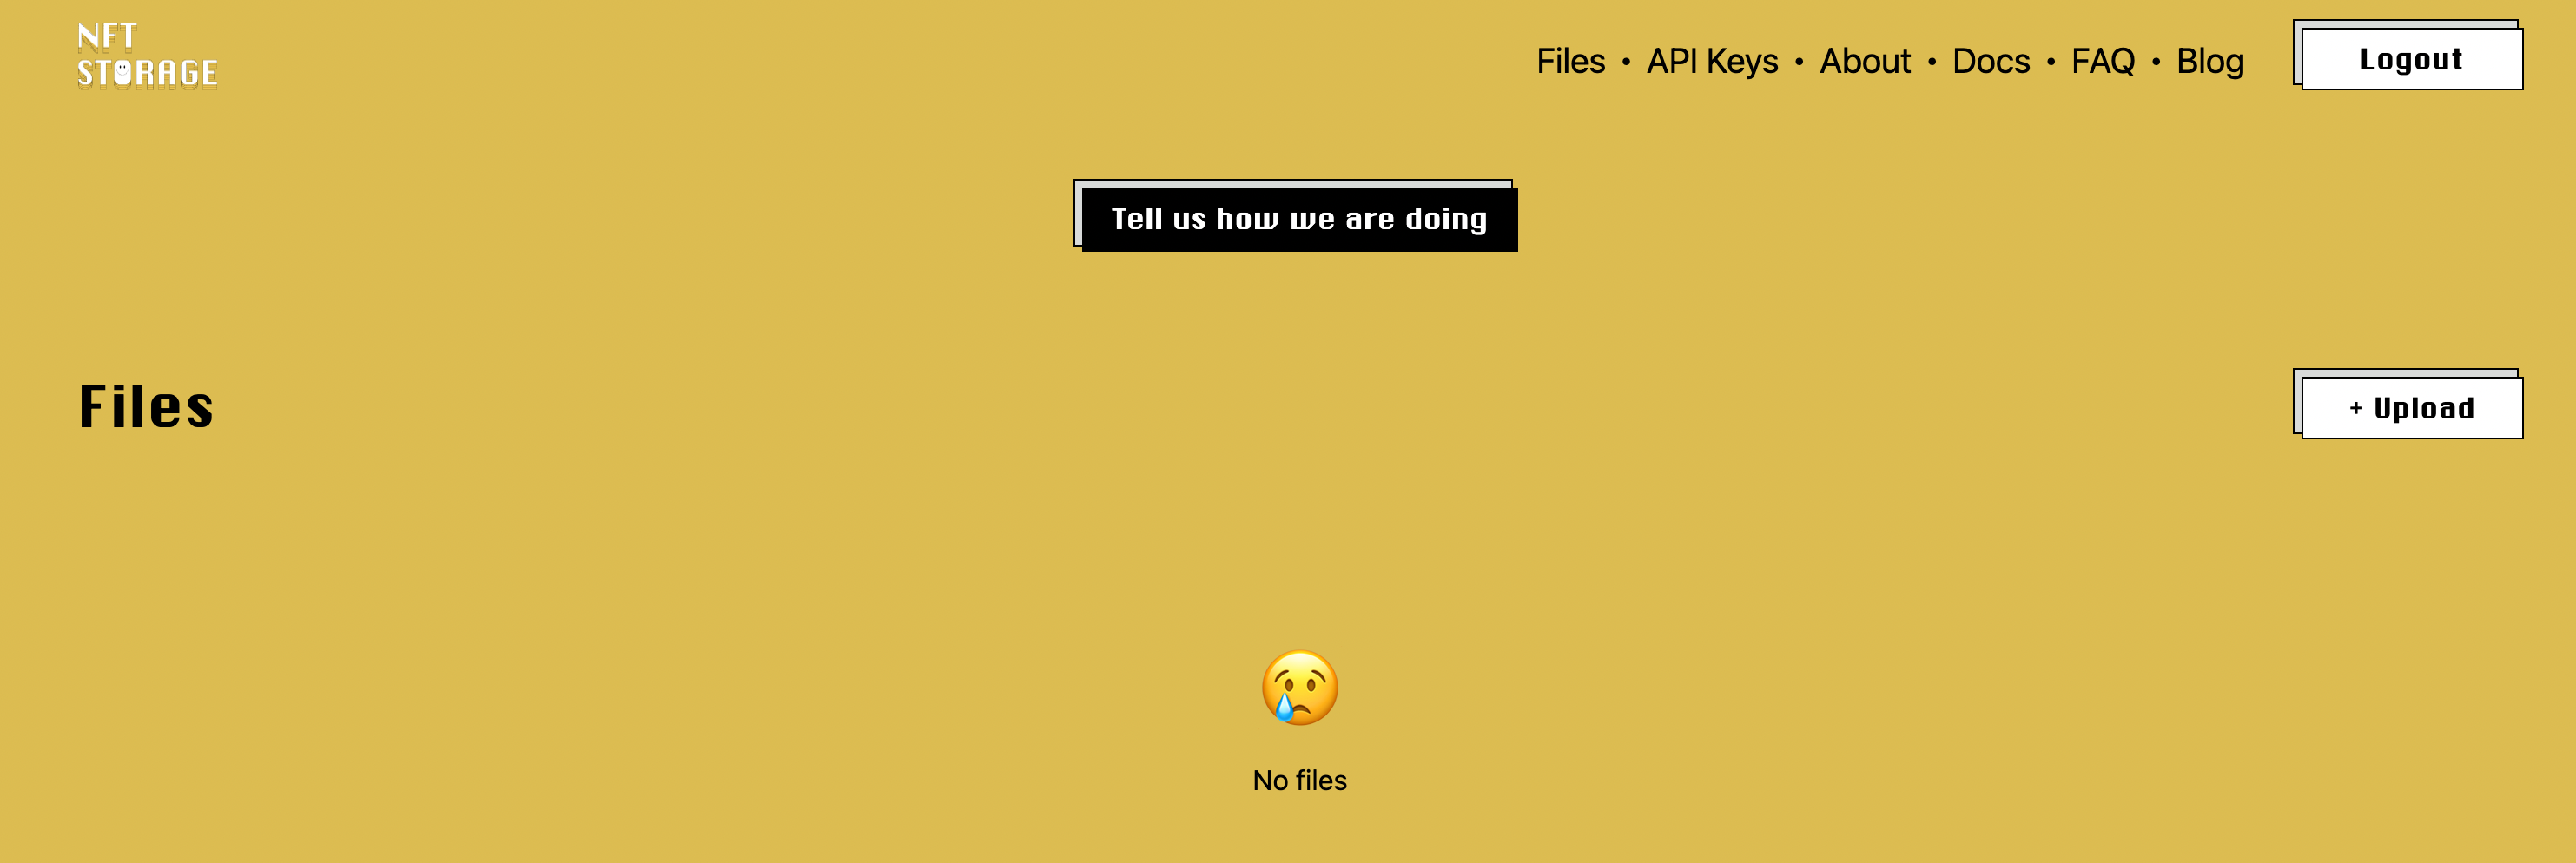
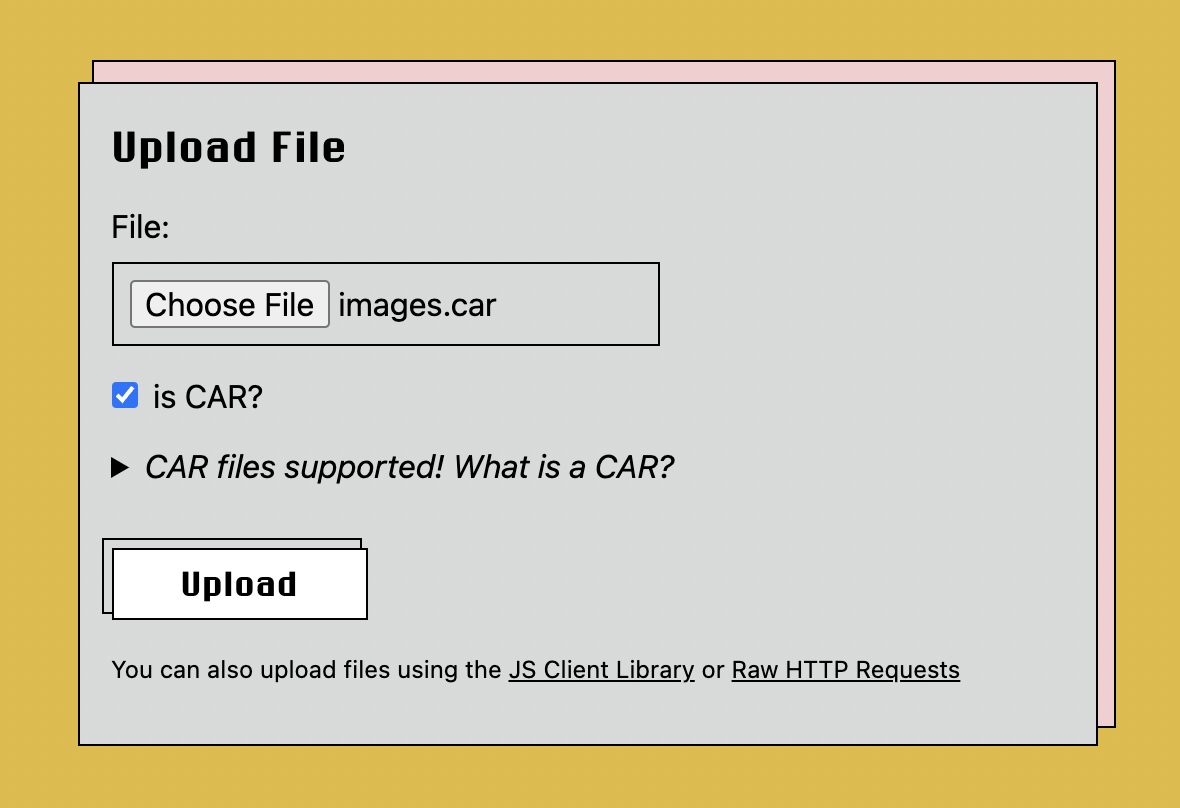
Next let's navigate to the NFT Storage Files ↗ page to upload this CAR file to IPFS:
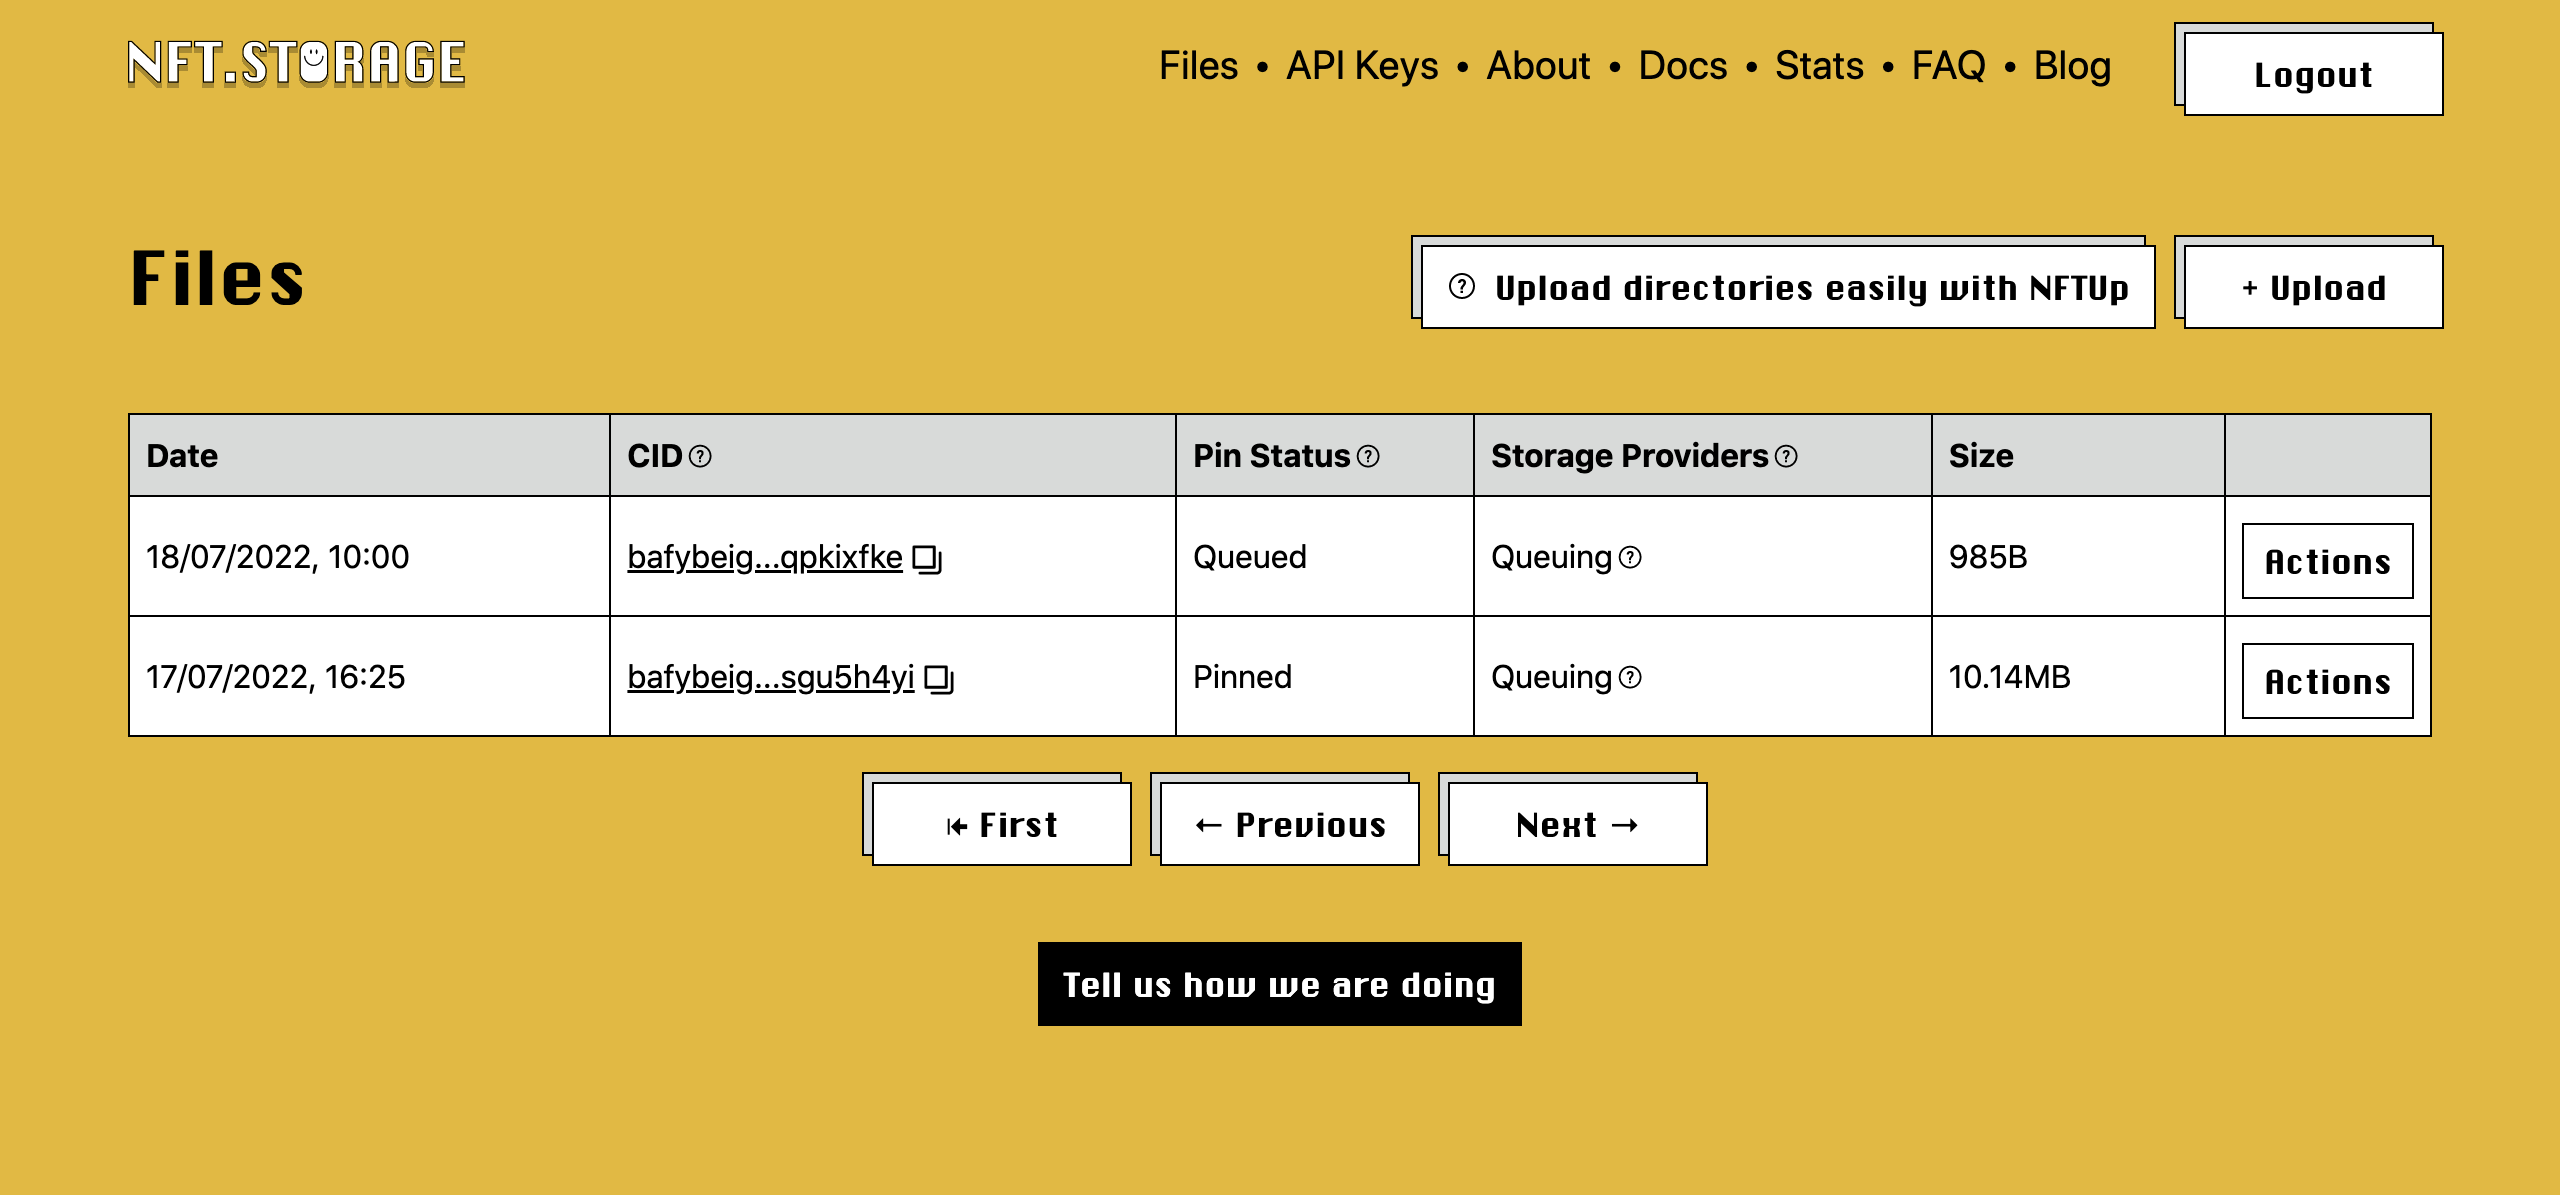
Click on the image CID to view the image, copy the image link. This link is to be included in your token metadata.

Now that we have our image stored on ipfs, we can begin to create our metadata JSON files, with IPFS images included. In /metadata folder, go ahead and create a file named 1 (don't worry about not adding a file extension). Fill these files with sample data such as below:
{
    "attributes" : [
       {
          "trait_type" : "level",
          "value" : 5
       },
       {
          "trait_type" : "stamina",
          "value" : 70.5
       },
       {
          "trait_type" : "personality",
          "value" : "Agile"
       },
       {
          "display_type" : "boost_number",
          "trait_type" : "aqua_power",
          "value" : 50
       },
       {
          "display_type" : "boost_percentage",
          "trait_type" : "stamina_increase",
          "value" : 70
       },
       {
          "display_type" : "number",
          "trait_type" : "generation",
          "value" : 1
       }
    ],
    "description" : "A young and grateful fellow thanking God for adding to his years on earth.",
    "image" : "https://bafybeighk6vlcaudajgkxxwa5vxc3qkadna6neekxwxncyja55sgu5h4yi.ipfs.nftstorage.link/images/pampam.jpg",
    "name" : "Oxpam_pam"
 }
Note: This is a sample metadata that you can edit to your choice. Feel free to change the image value and some other property. To learn more about metadata standard, click here.
To further get our metadata hosted on IPFS, use the same IPFS-CAR CLI command from earlier on the metadata folder and upload that as well to NFT Storage:
npx ipfs-car --pack metadata --output metadata.car
We have our result below
root CID: bafybeigtfhnfoyh2fw73tqhinxy4bfz5ijnug3wjx3mvtia2iuqpkixfke output: metadata.car
Next is to upload our metadata.car to NFT Storage as we did to our image. Once this is done, your metadata is ready to be set onto your smart contract!

Miniting our NFT
Now that we have our token metadata, lets head up to mint our NFT. To do this, navigate to your scripts folder and create a file named mint.ts and paste this code below:
  import { ethers } from "hardhat";

async function main() {
   const deployerAddr = "Your kaikas wallet address";
   const deployer = await ethers.getSigner(deployerAddr);

// gets the instance of the already deployed contract
 const myNftInstance = await ethers.getContractAt("MYNFT", "your contract address");

// you can add the link to your metadata here
  const uri = "https://bafybeigtfhnfoyh2fw73tqhinxy4bfz5ijnug3wjx3mvtia2iuqpkixfke.ipfs.nftstorage.link/metadata/1";

    const mint = await myNftInstance.connect(deployer).mintNftTo(deployerAddr, uri);
    const tx = await mint.wait()
    console.log(tx);

    const bal = await myNftInstance.balanceOf(deployerAddr);
    console.log(bal);
}

main()
.then(() => process.exit(0))
.catch((error) => {
    console.error(error);
    process.exit(1);
});
To mint our NFT lets run the command below
npx hardhat run scripts/mint.ts --network klaytn
Let's check our console for results. Once you have your transaction receipt and balance increased, you have successfully minted your NFT on Klaytn.

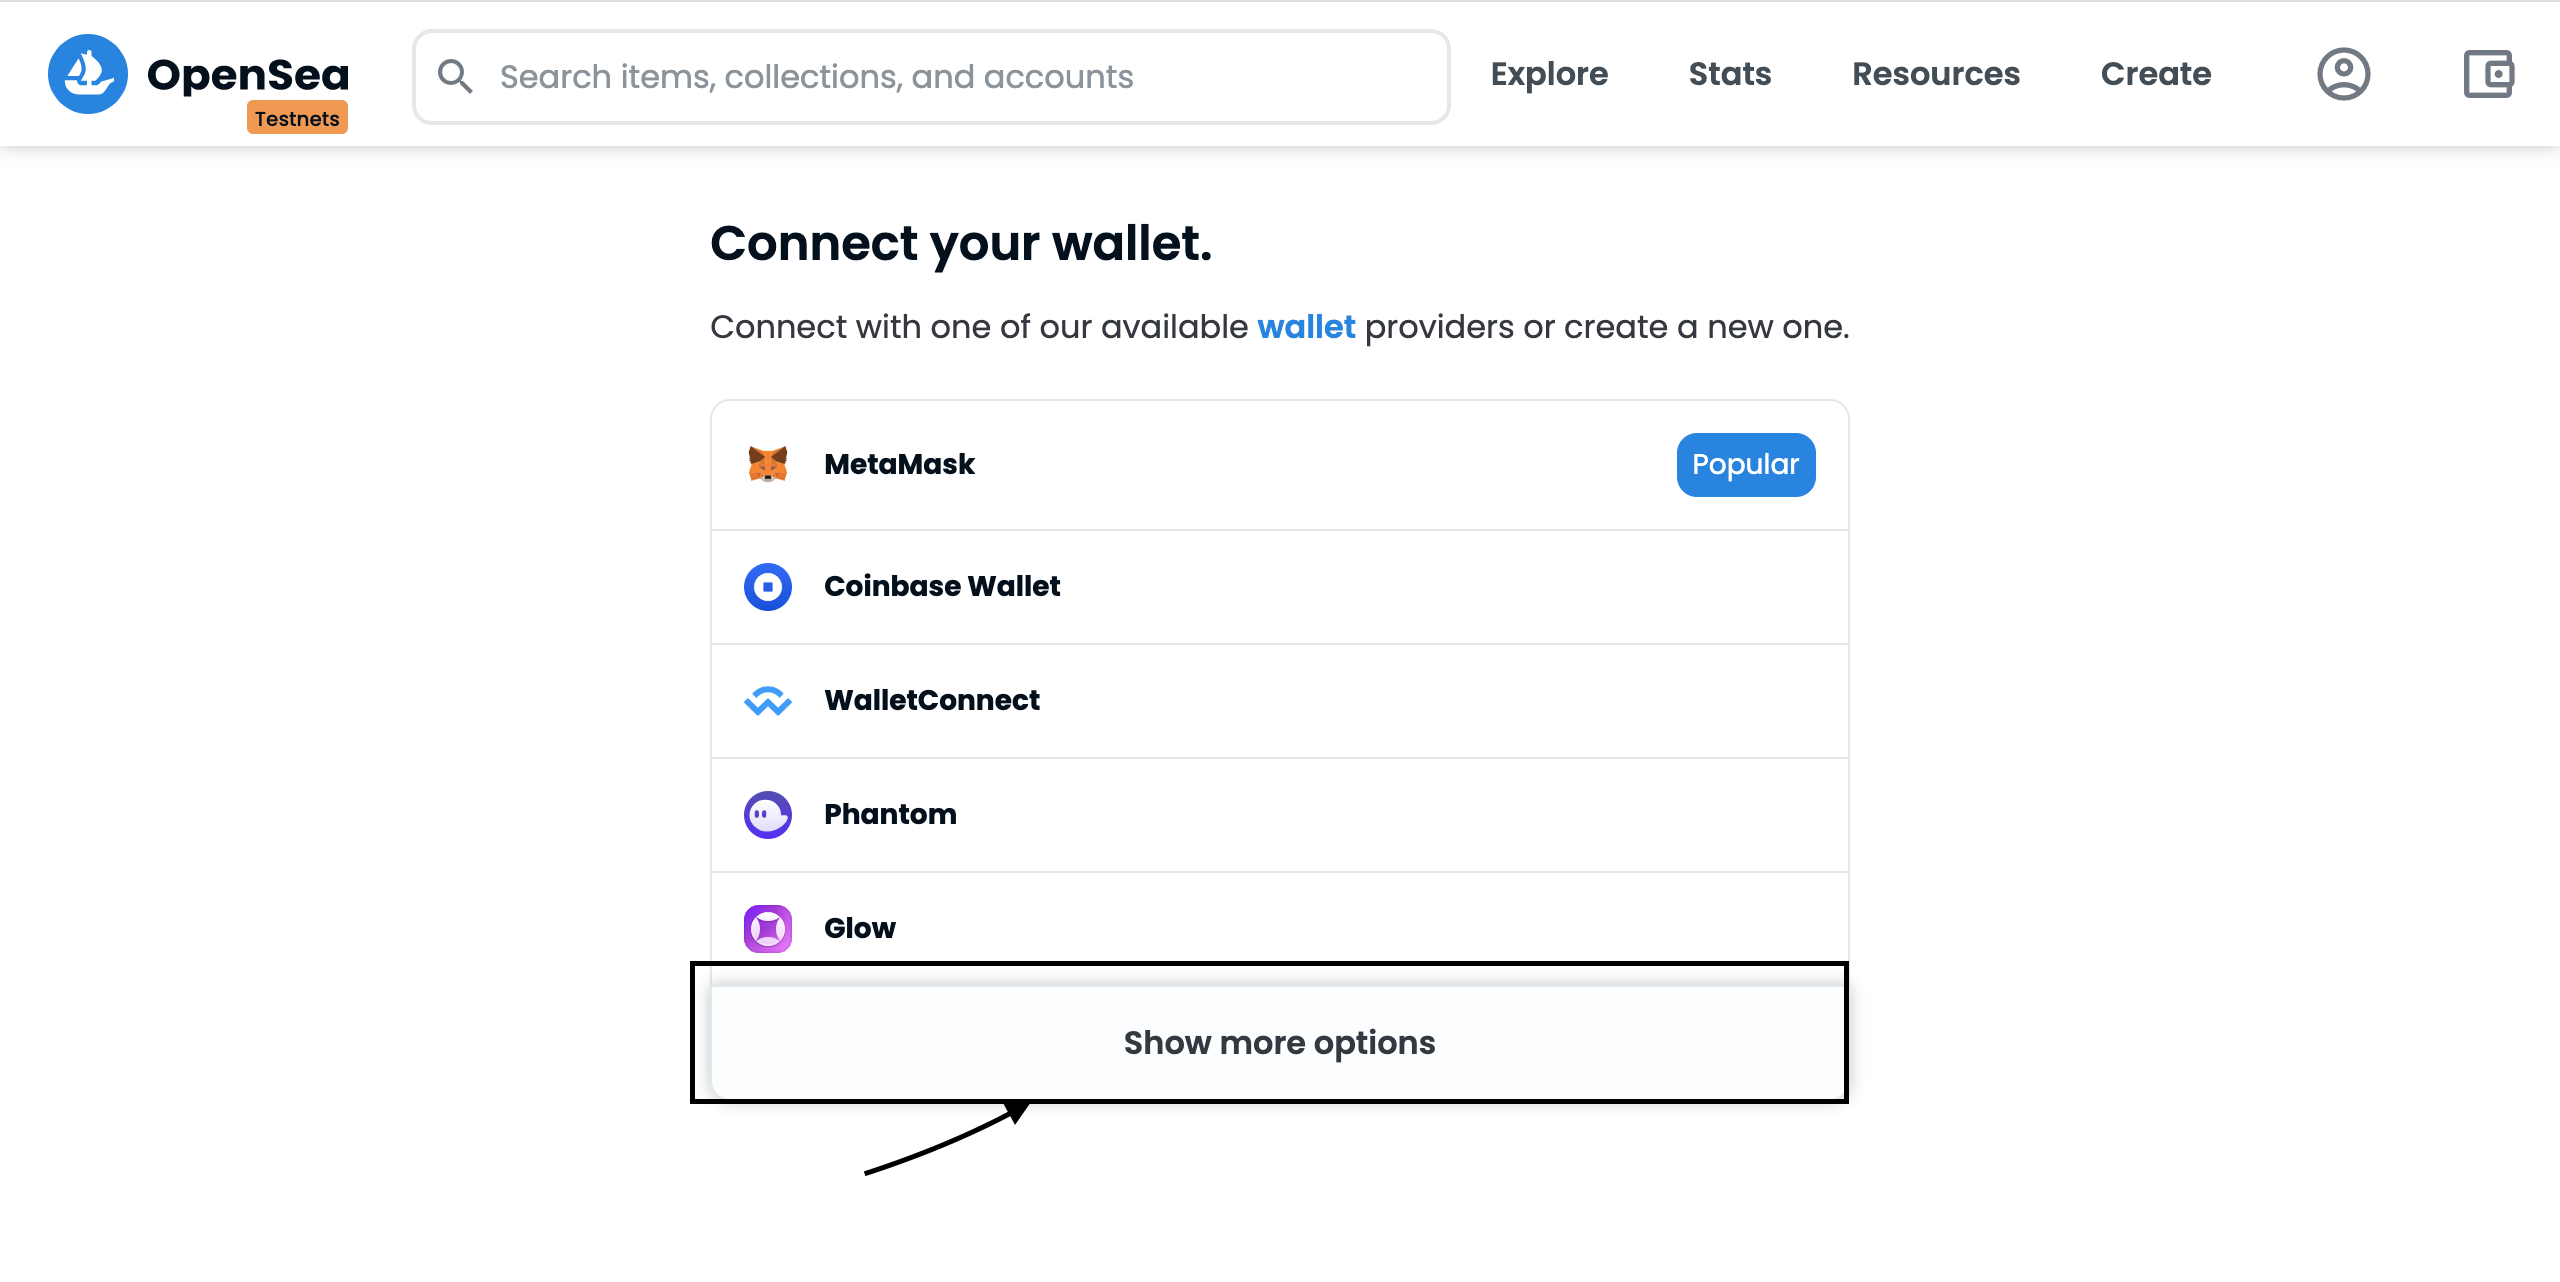
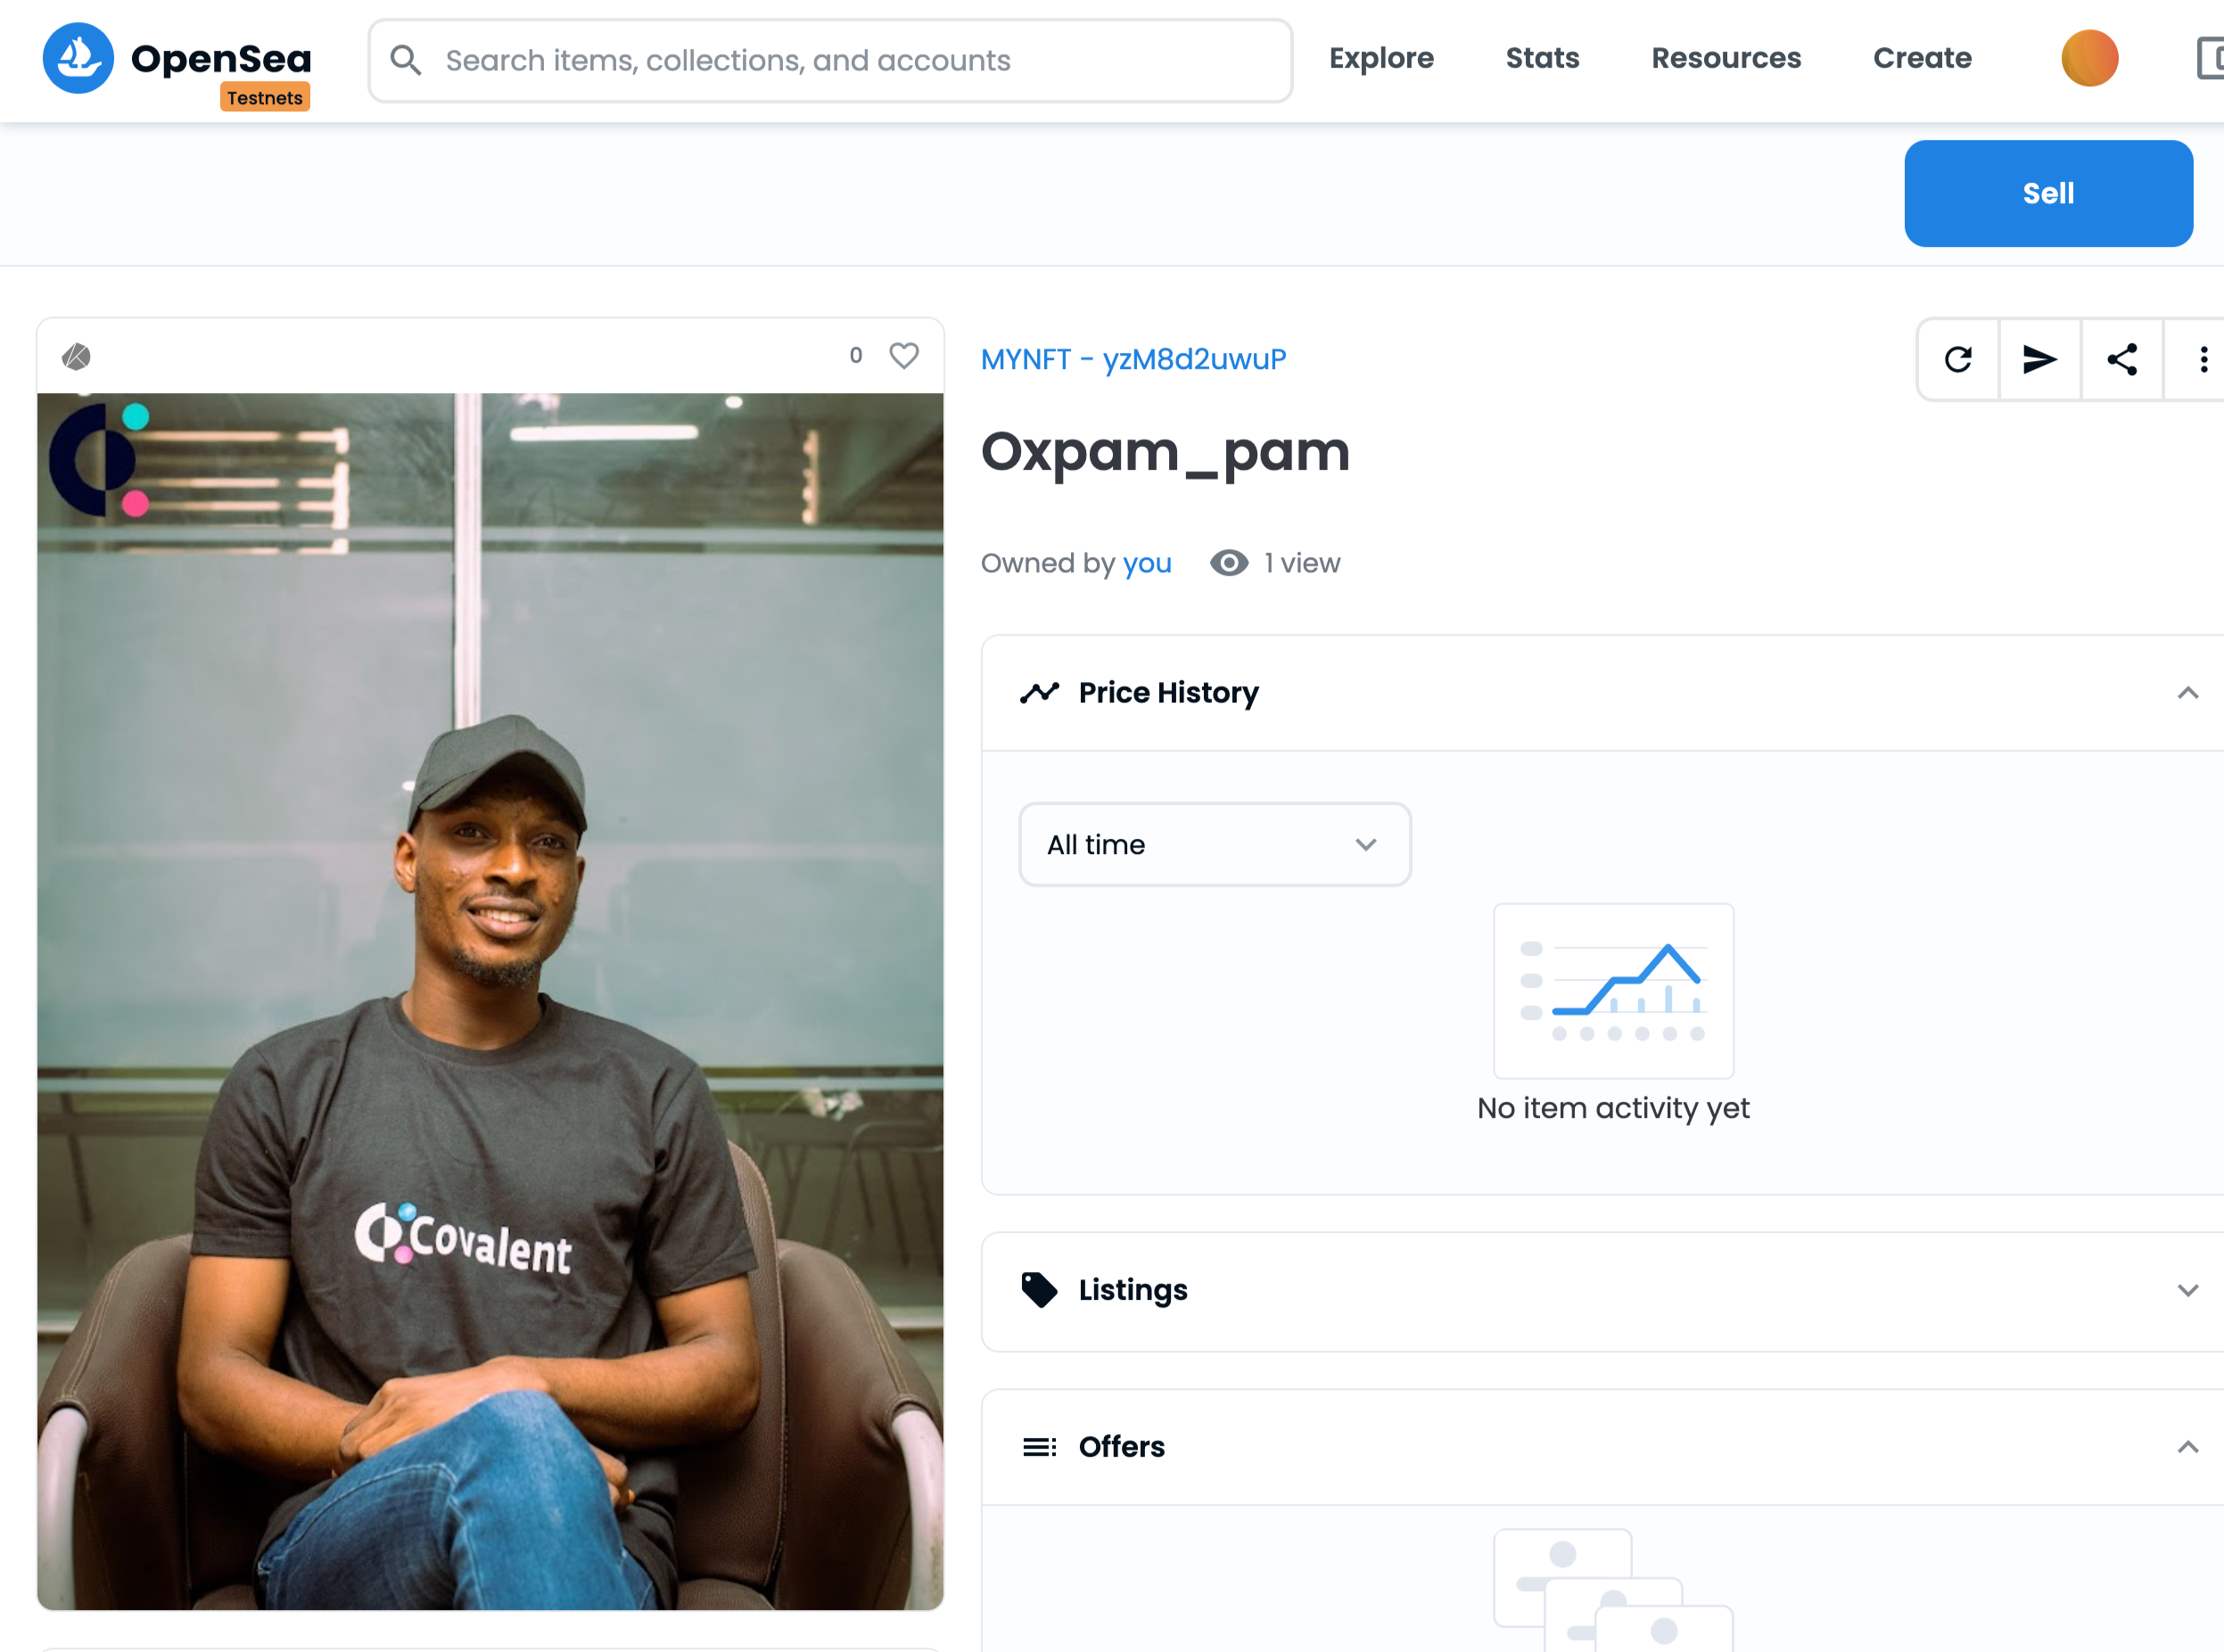
Now, let's navigate to Opensea↗, an NFT marketplace.
Connect your kaikas wallet to Opensea testnet marketplace and you'll be able to view your minted NFT there!
Conclusion
Congratulations on making it to the end and for creating and minting your first NFT on Klaytn.
Now that you have fully gone through the process, it’s time to experiment more! Can you think of anything that could be improved? Here is an idea:
Add a minting cost i.e Charge a specific amount to call the mintNftTo. Here is how the mint function could be modified:
   uint256 public constant MINT_PRICE = 5 ether;
  function mintTo(address recipient) public payable returns (uint256) {
    require(msg.value >= MINT_PRICE, "value not equals the mint price");

       currentTokenId.increment();

        uint256 newItemId = currentTokenId.current();
        _mint(recipient, newItemId);
        _setTokenURI(newItemId, tokenURI);

        return newItemId;
  // }
You might also want to consider building a full-stack dApp to mint, display and transfer NFTs.
This was a very comprehensive tutorial on writing, compiling, and deploying our KIP-17 NFT smart contract to Klaytn Baobab using Hardhat and Ethers js. If you followed along with this guide, it would be awesome to check out the complete source code here on github.
If you have any questions, suggestions or comments, drop them below, or reach out to me on Twitter!
Happy Building!!


