Beginner's guide on installing Unity Hub and Unity on MacOS

Introduction
Unity software is used for the development of 2D and 3D games for computers, mobile, etc. It is developed by Unity Technologies in 2005 and is written in C# and C++ language. It is a free and open-source software. It was first showcased at Apple Inc's Worldwide Developers Conference as a Mac OS X-exclusive game engine.
Unity is particularly popular for mobile game development and much of their focus is on mobile platforms. Unity is an all purpose game engine that supports 2D and 3D graphics, drag and drop functionality and also scripting through C#.
Some of the popular games built with unity include:
- Temple Run Trilogy
- Angry Birds
- Super Mario Run
- Assassin’s Creed: Identity
In this article, we are going to install Unity Hub and Unity on macOS to get started with game development.
Installing Unity Hub and Unity on MacOS
The following is a step-by-step guide to install Unity Hub and Unity on MacOS:
Step 1:
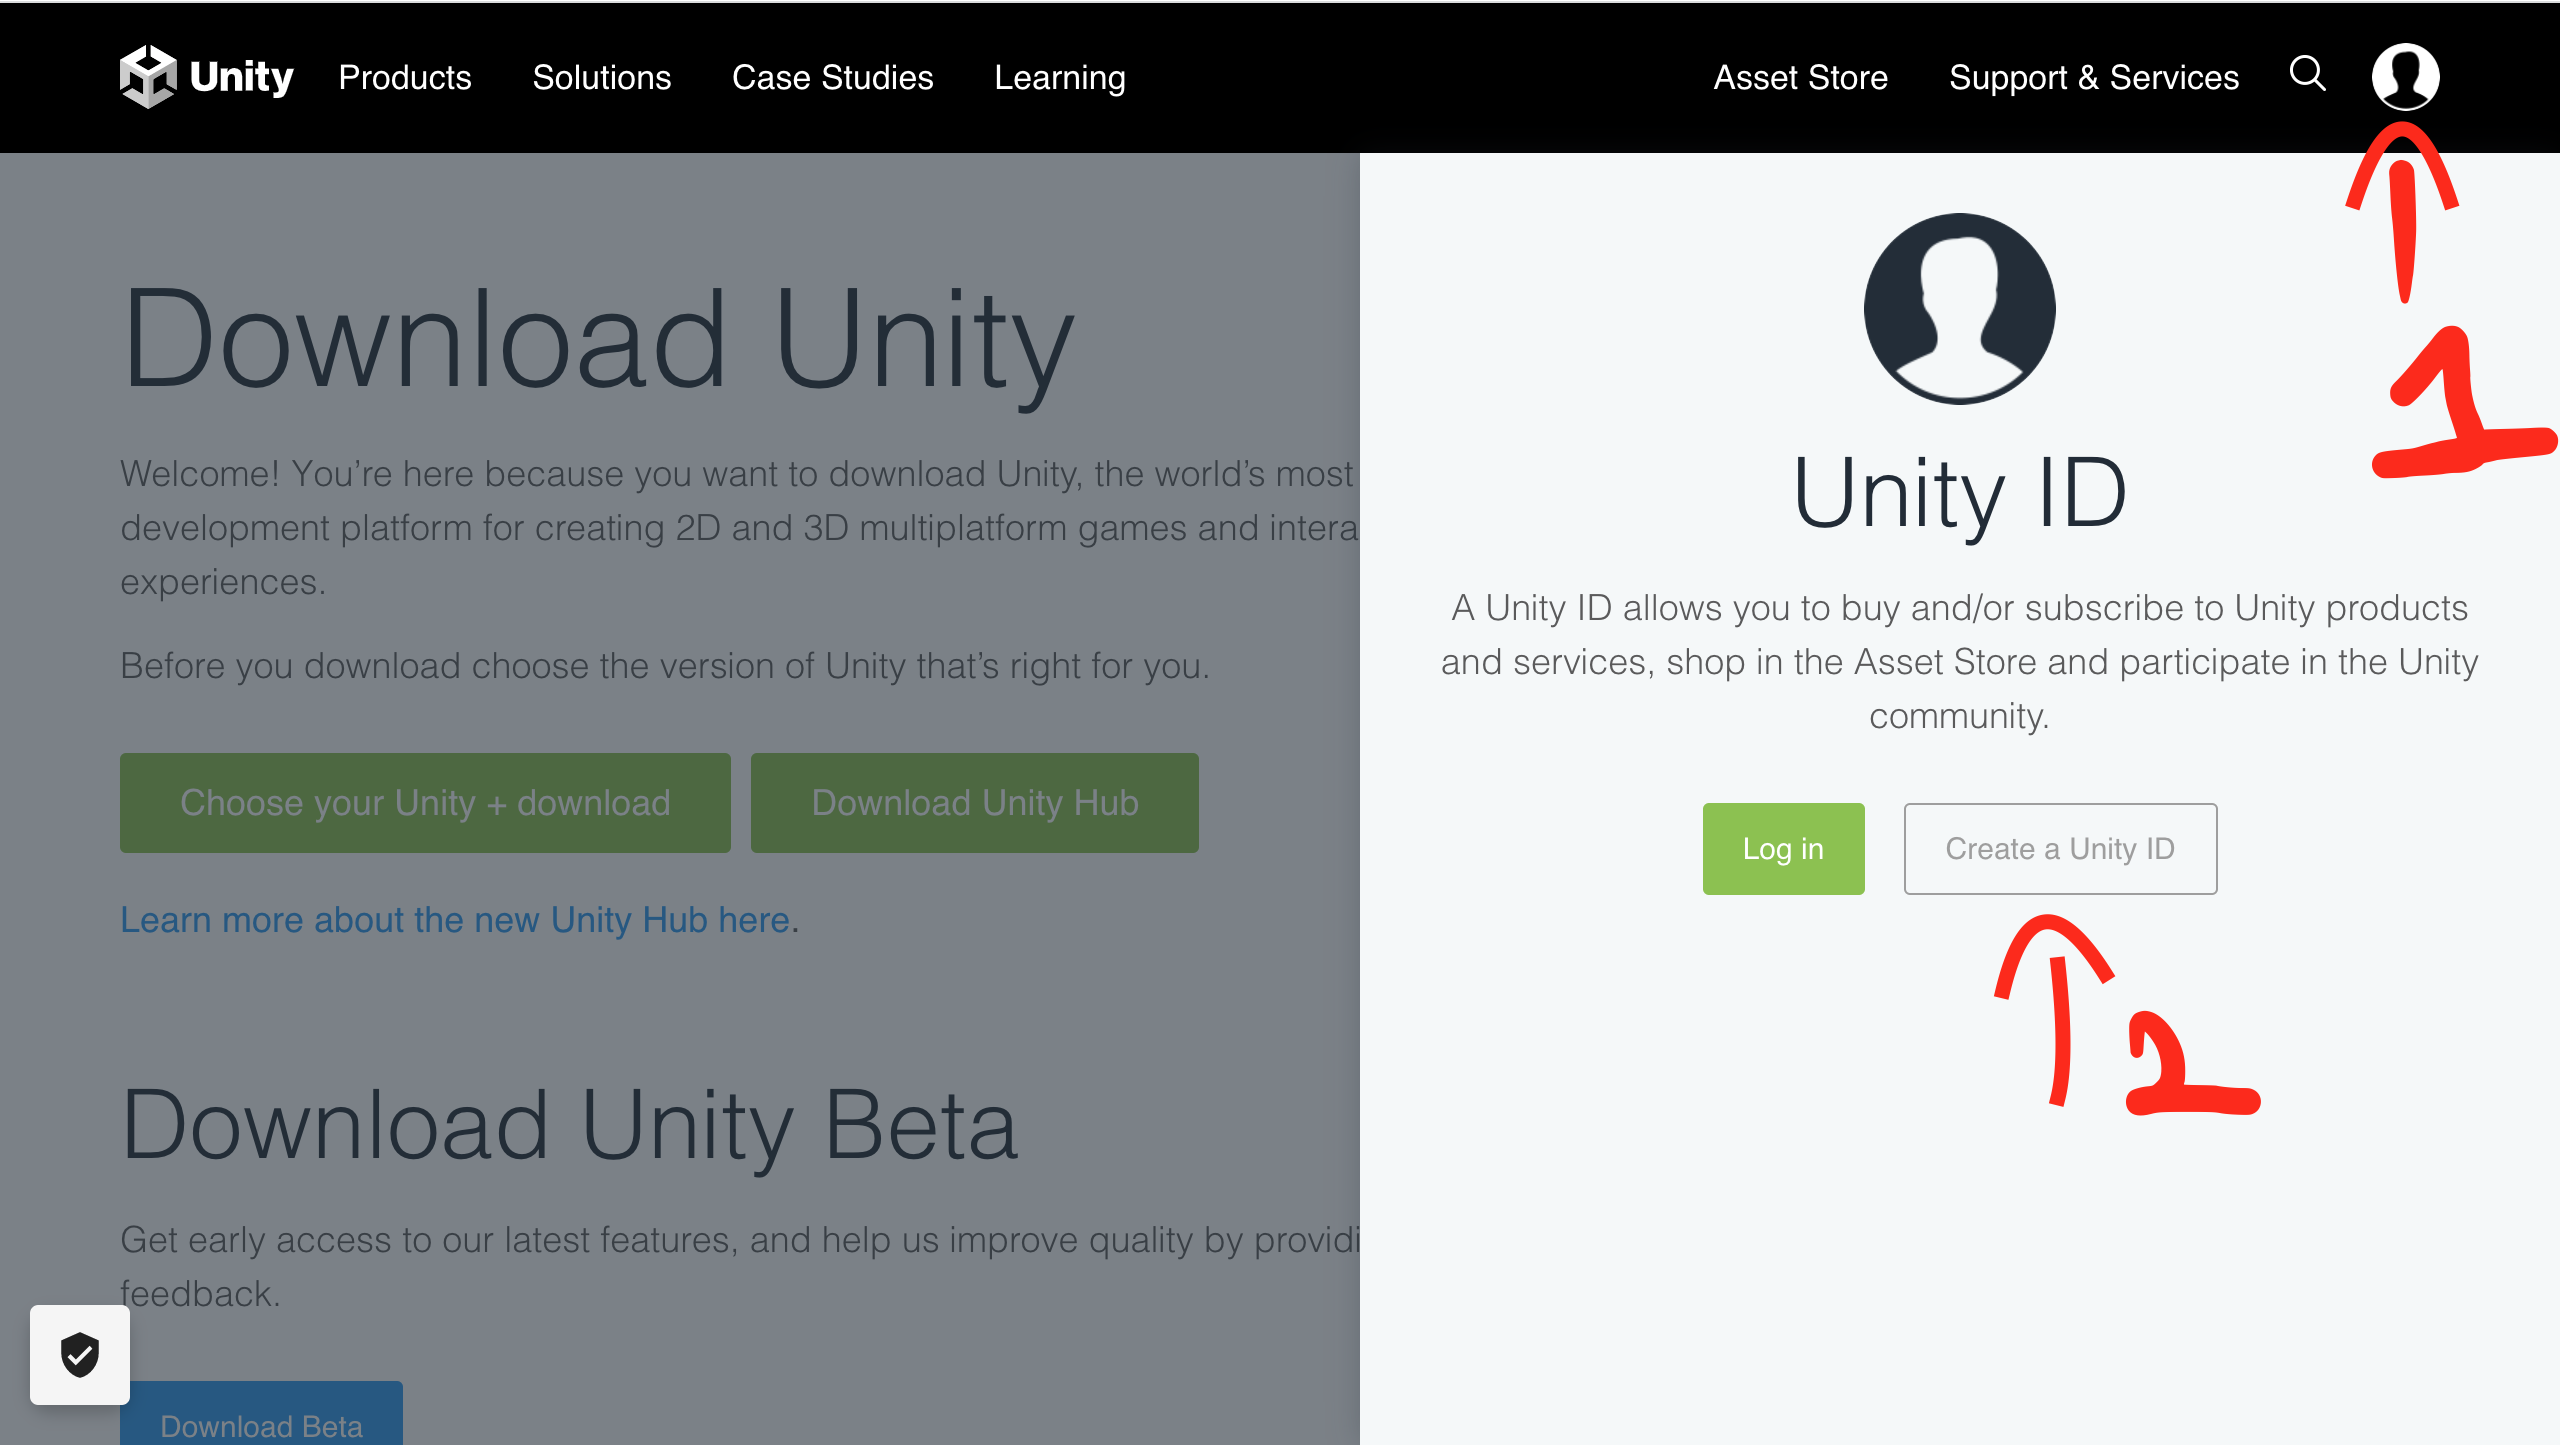
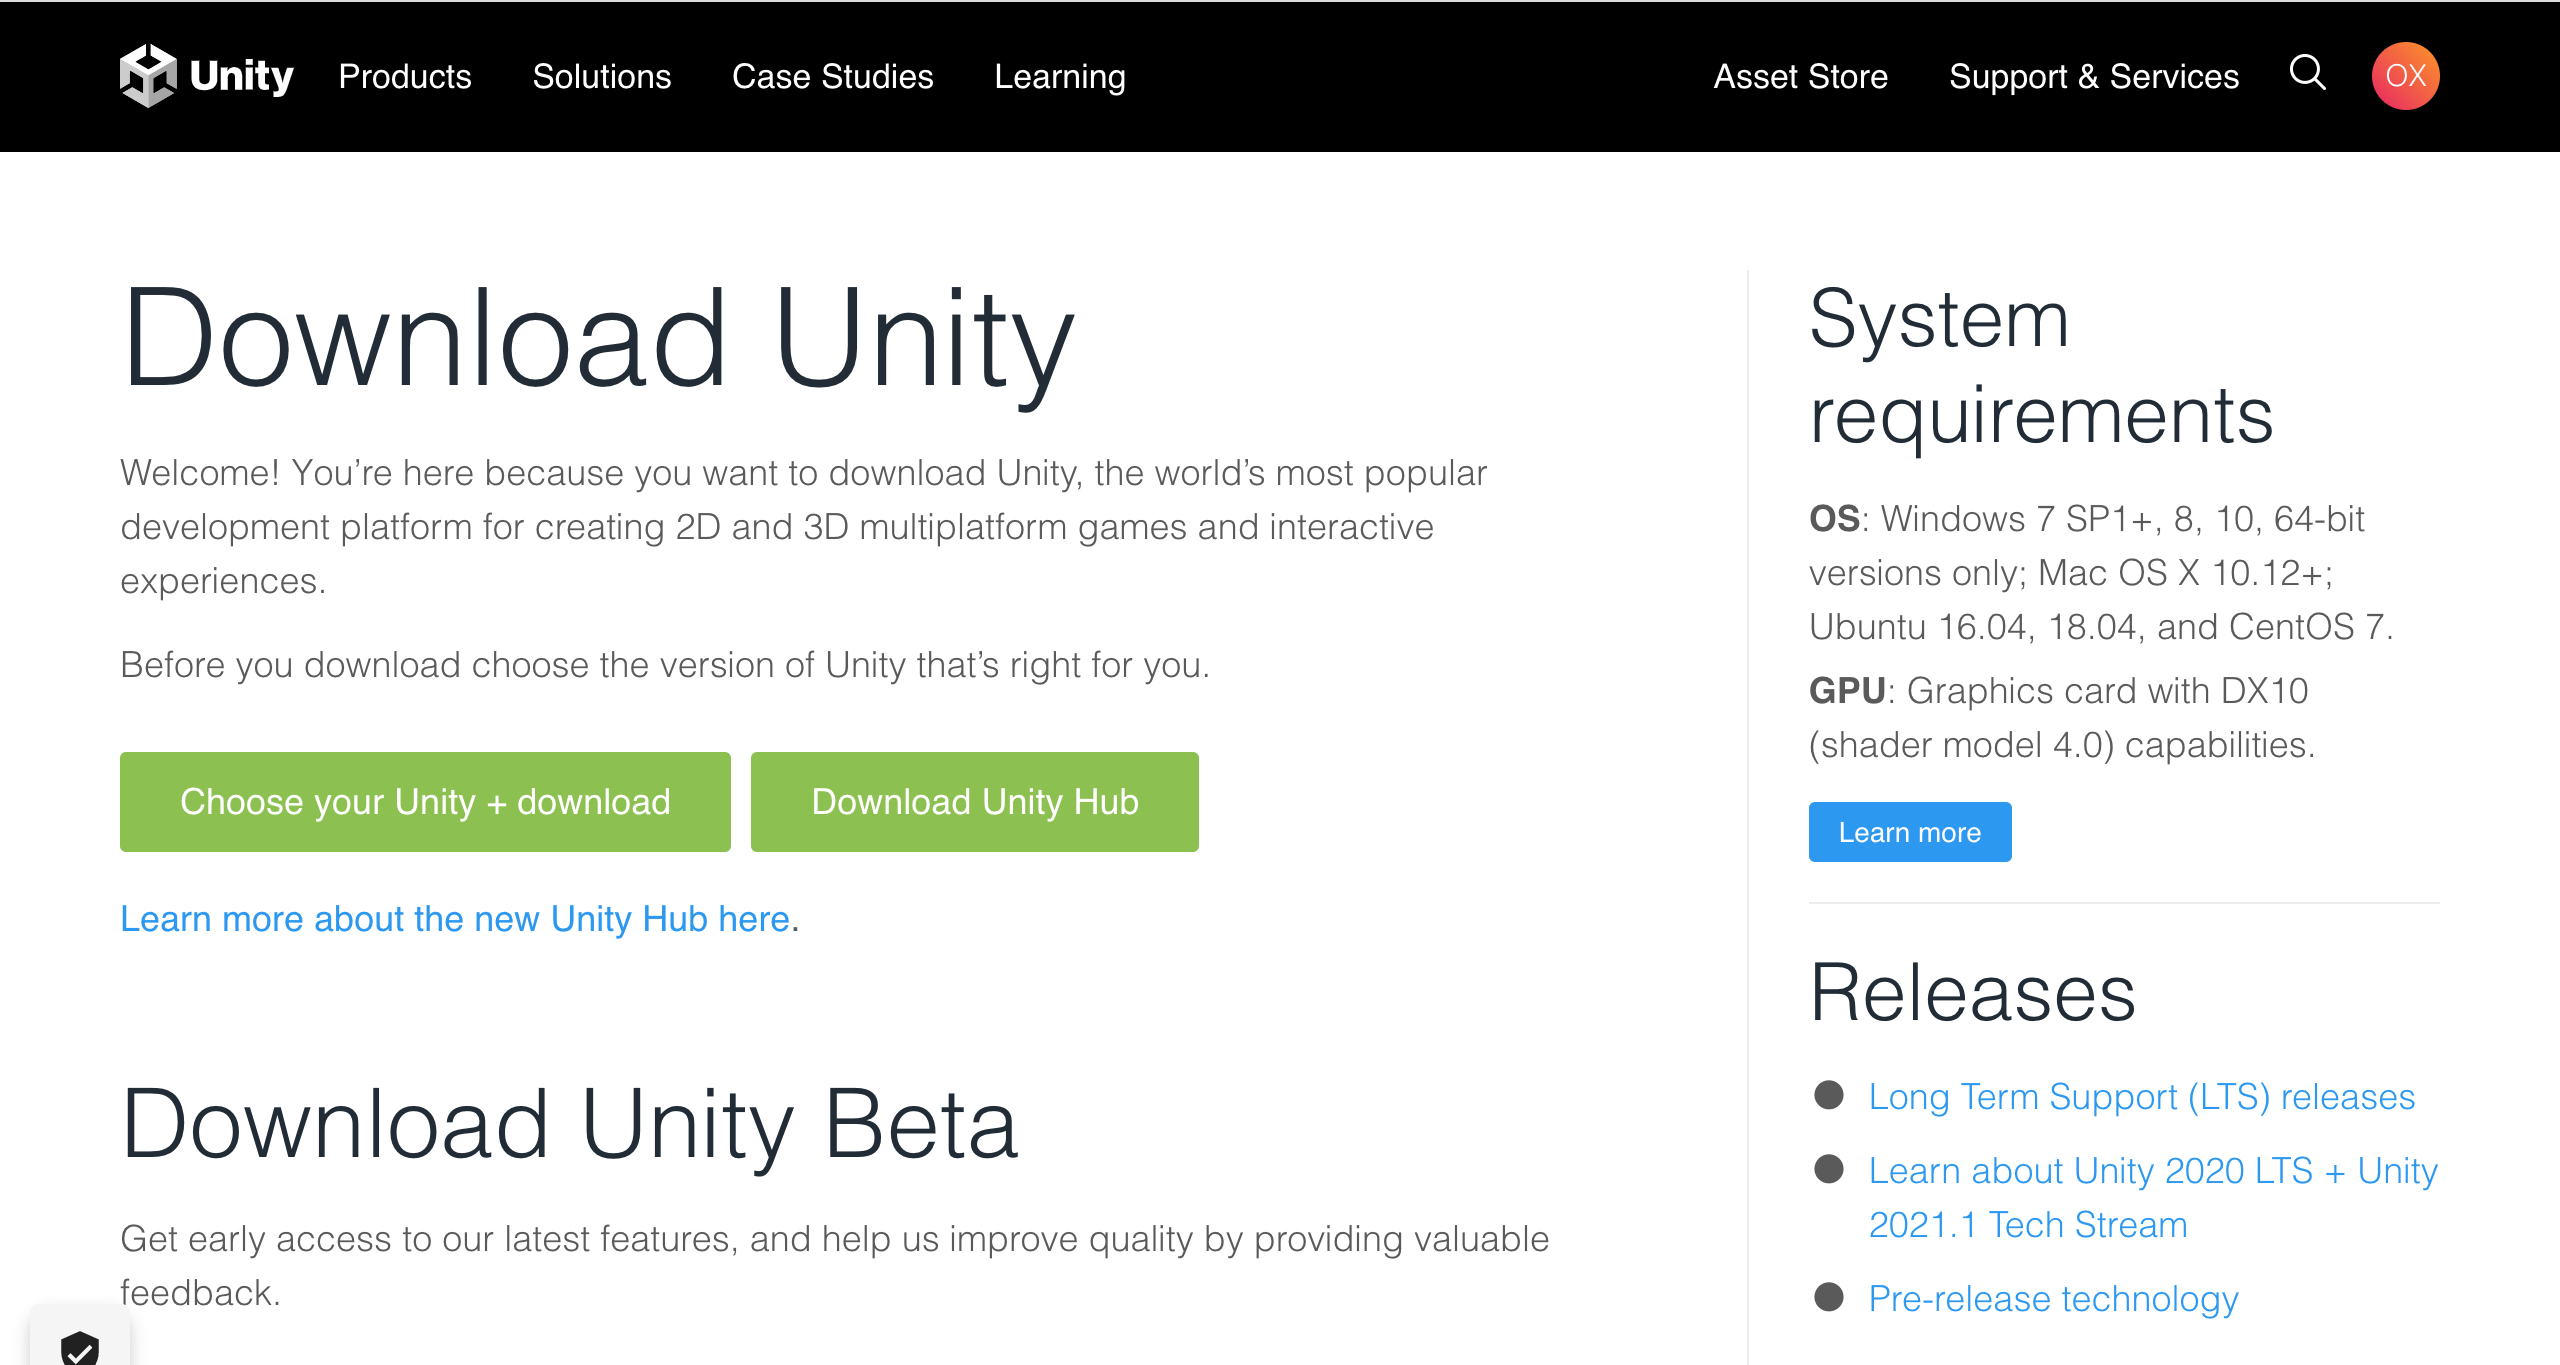
Navigate to the official Unity Website. Create a Unity ID.
Step 2:
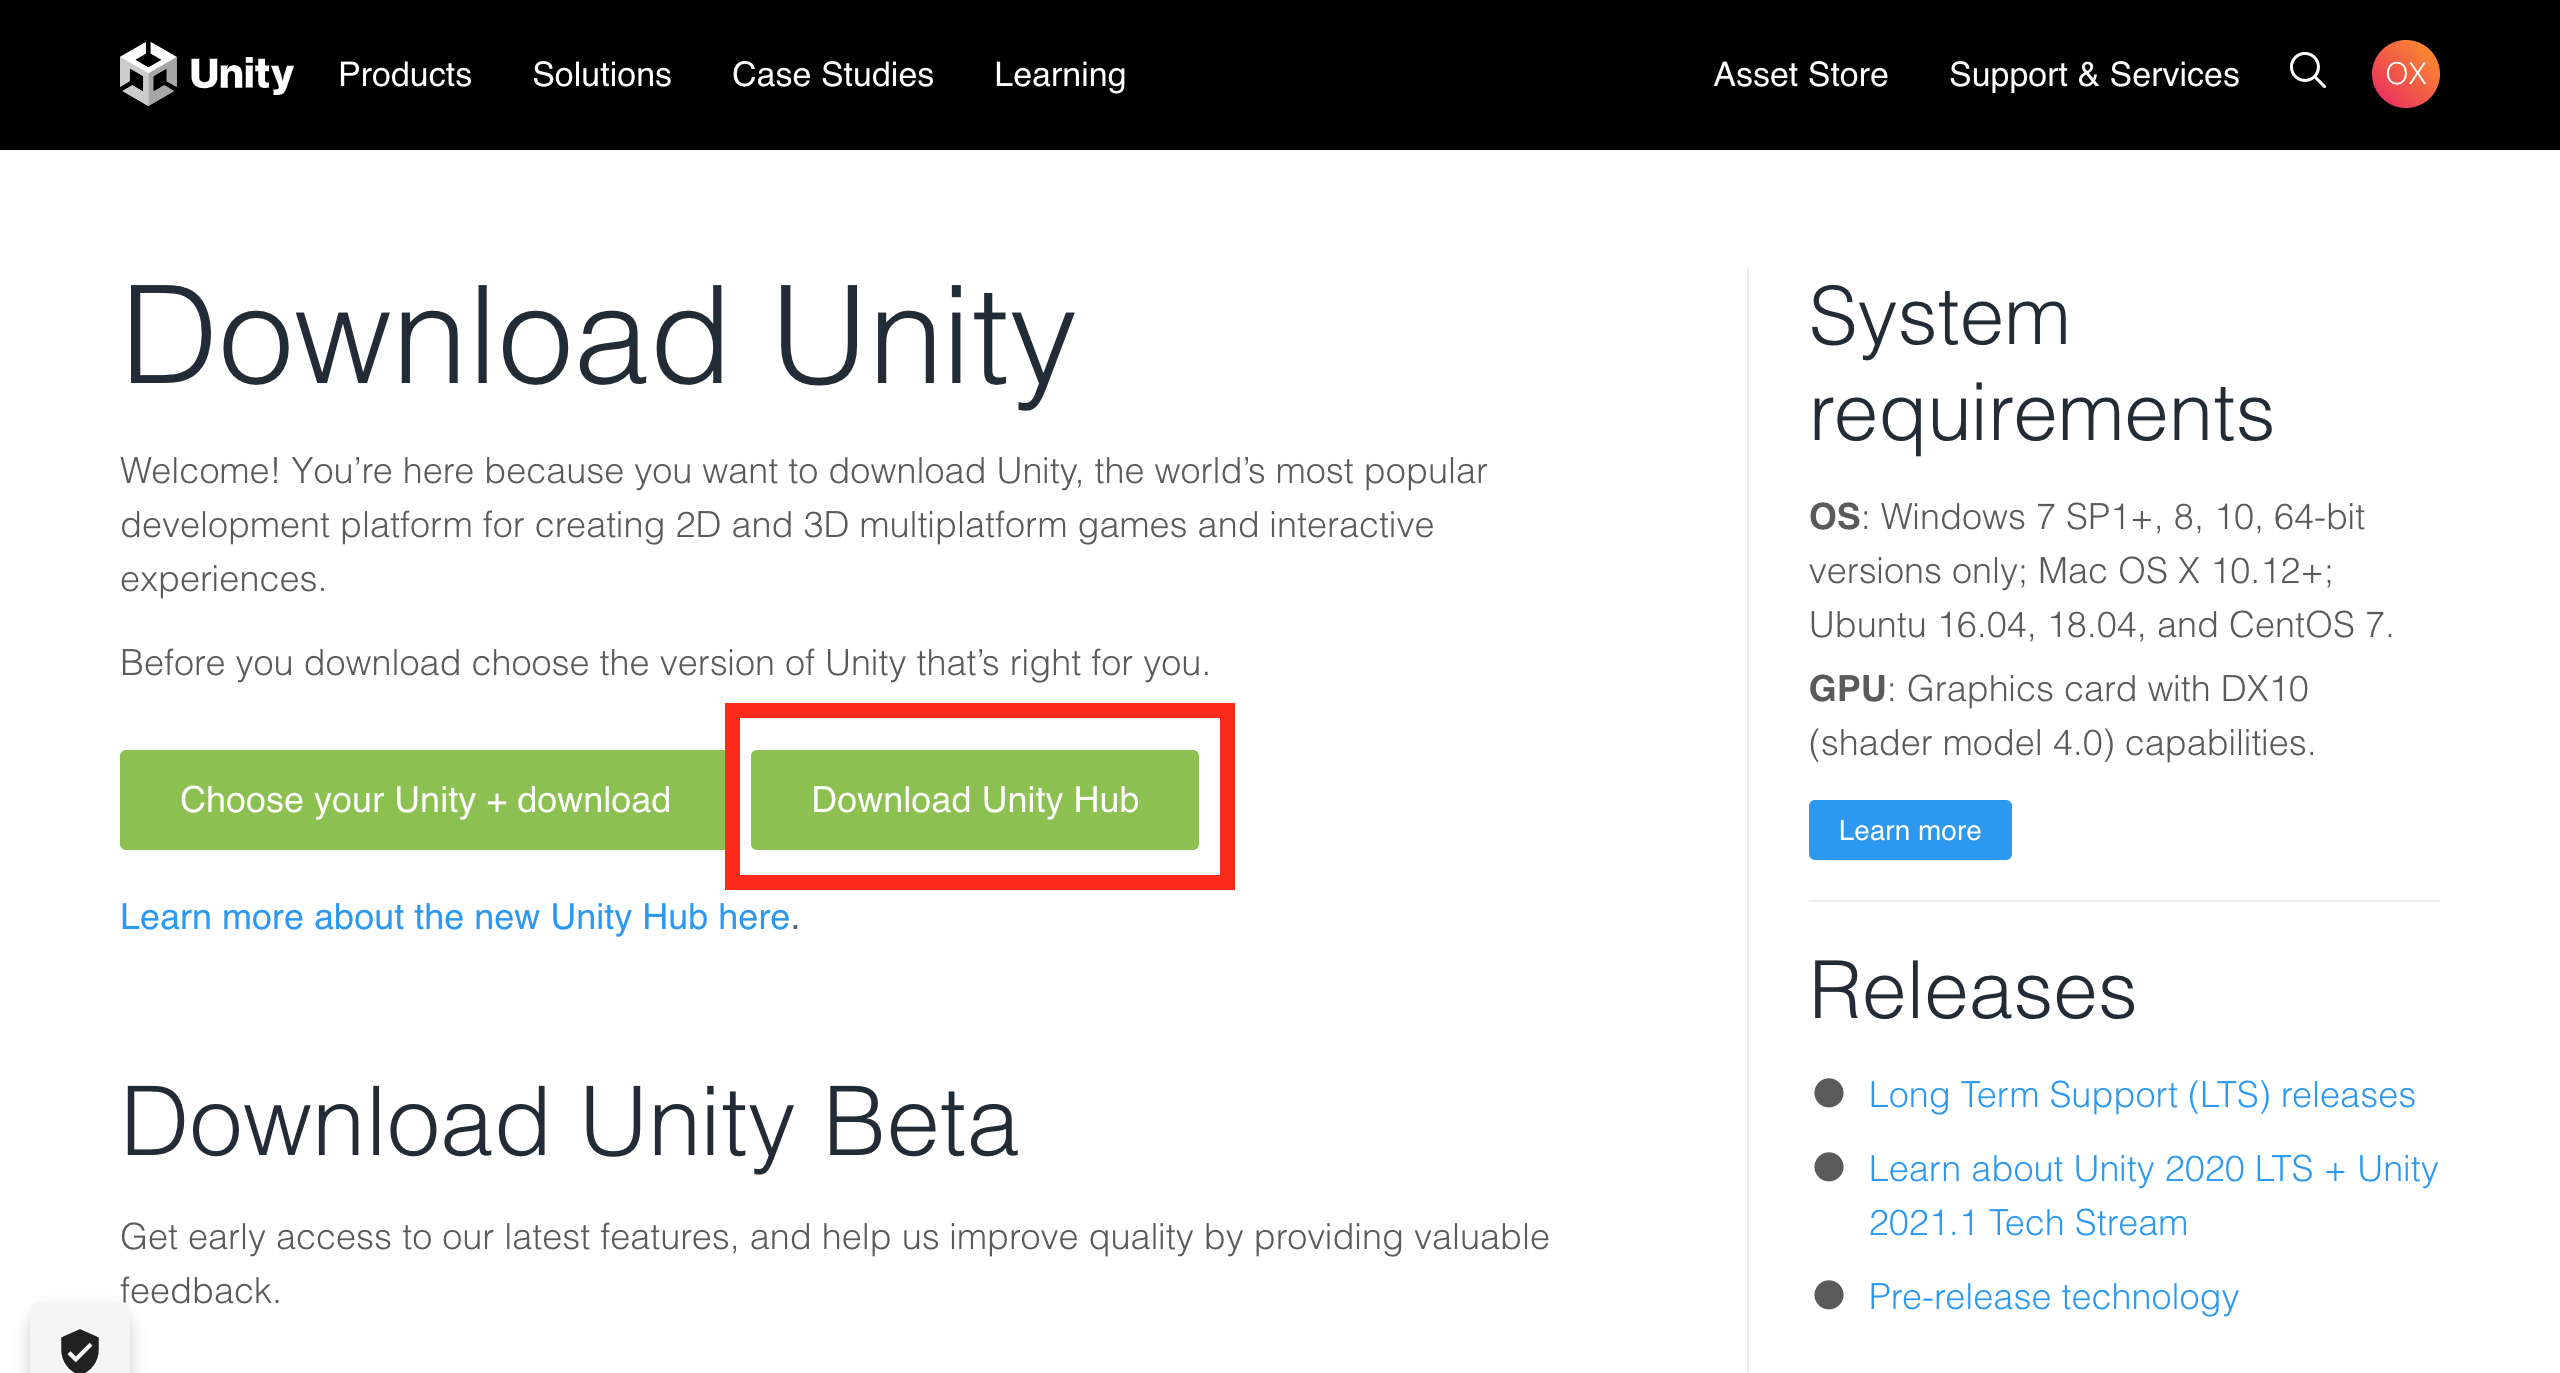
Click on the Download Unity Hub Button to start downloading.
Step 3:
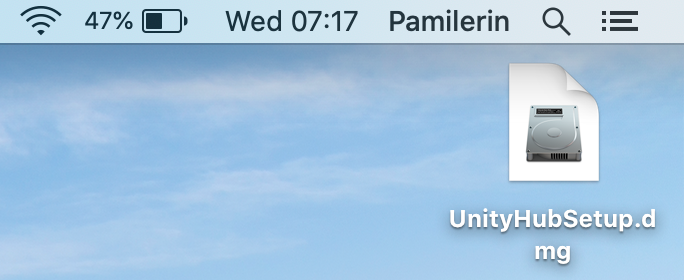
Now find the file in the download folder and then click to open it.
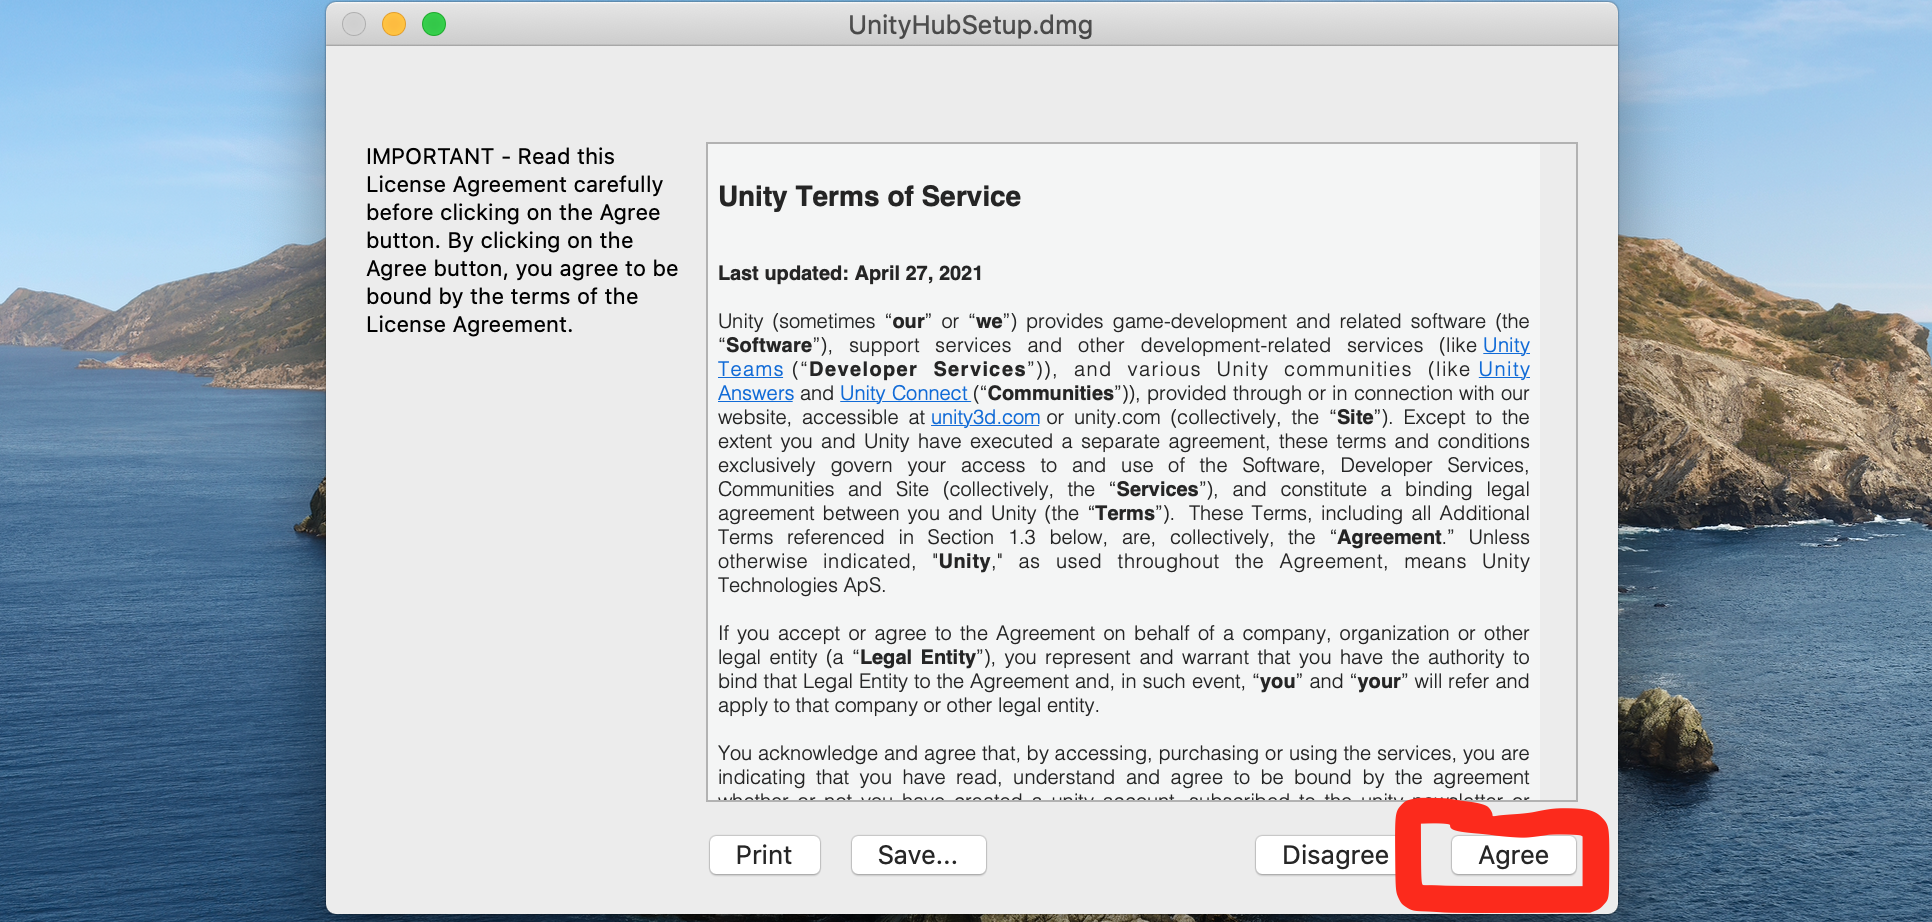
Step 4:
A terms of service page will be prompted. Click on the Agree Button as seen below
Step 5:
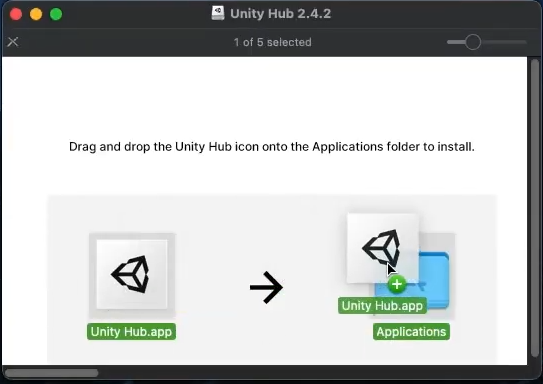
Now hold and drag the Unity Hub to Applications folder.
Step 6:
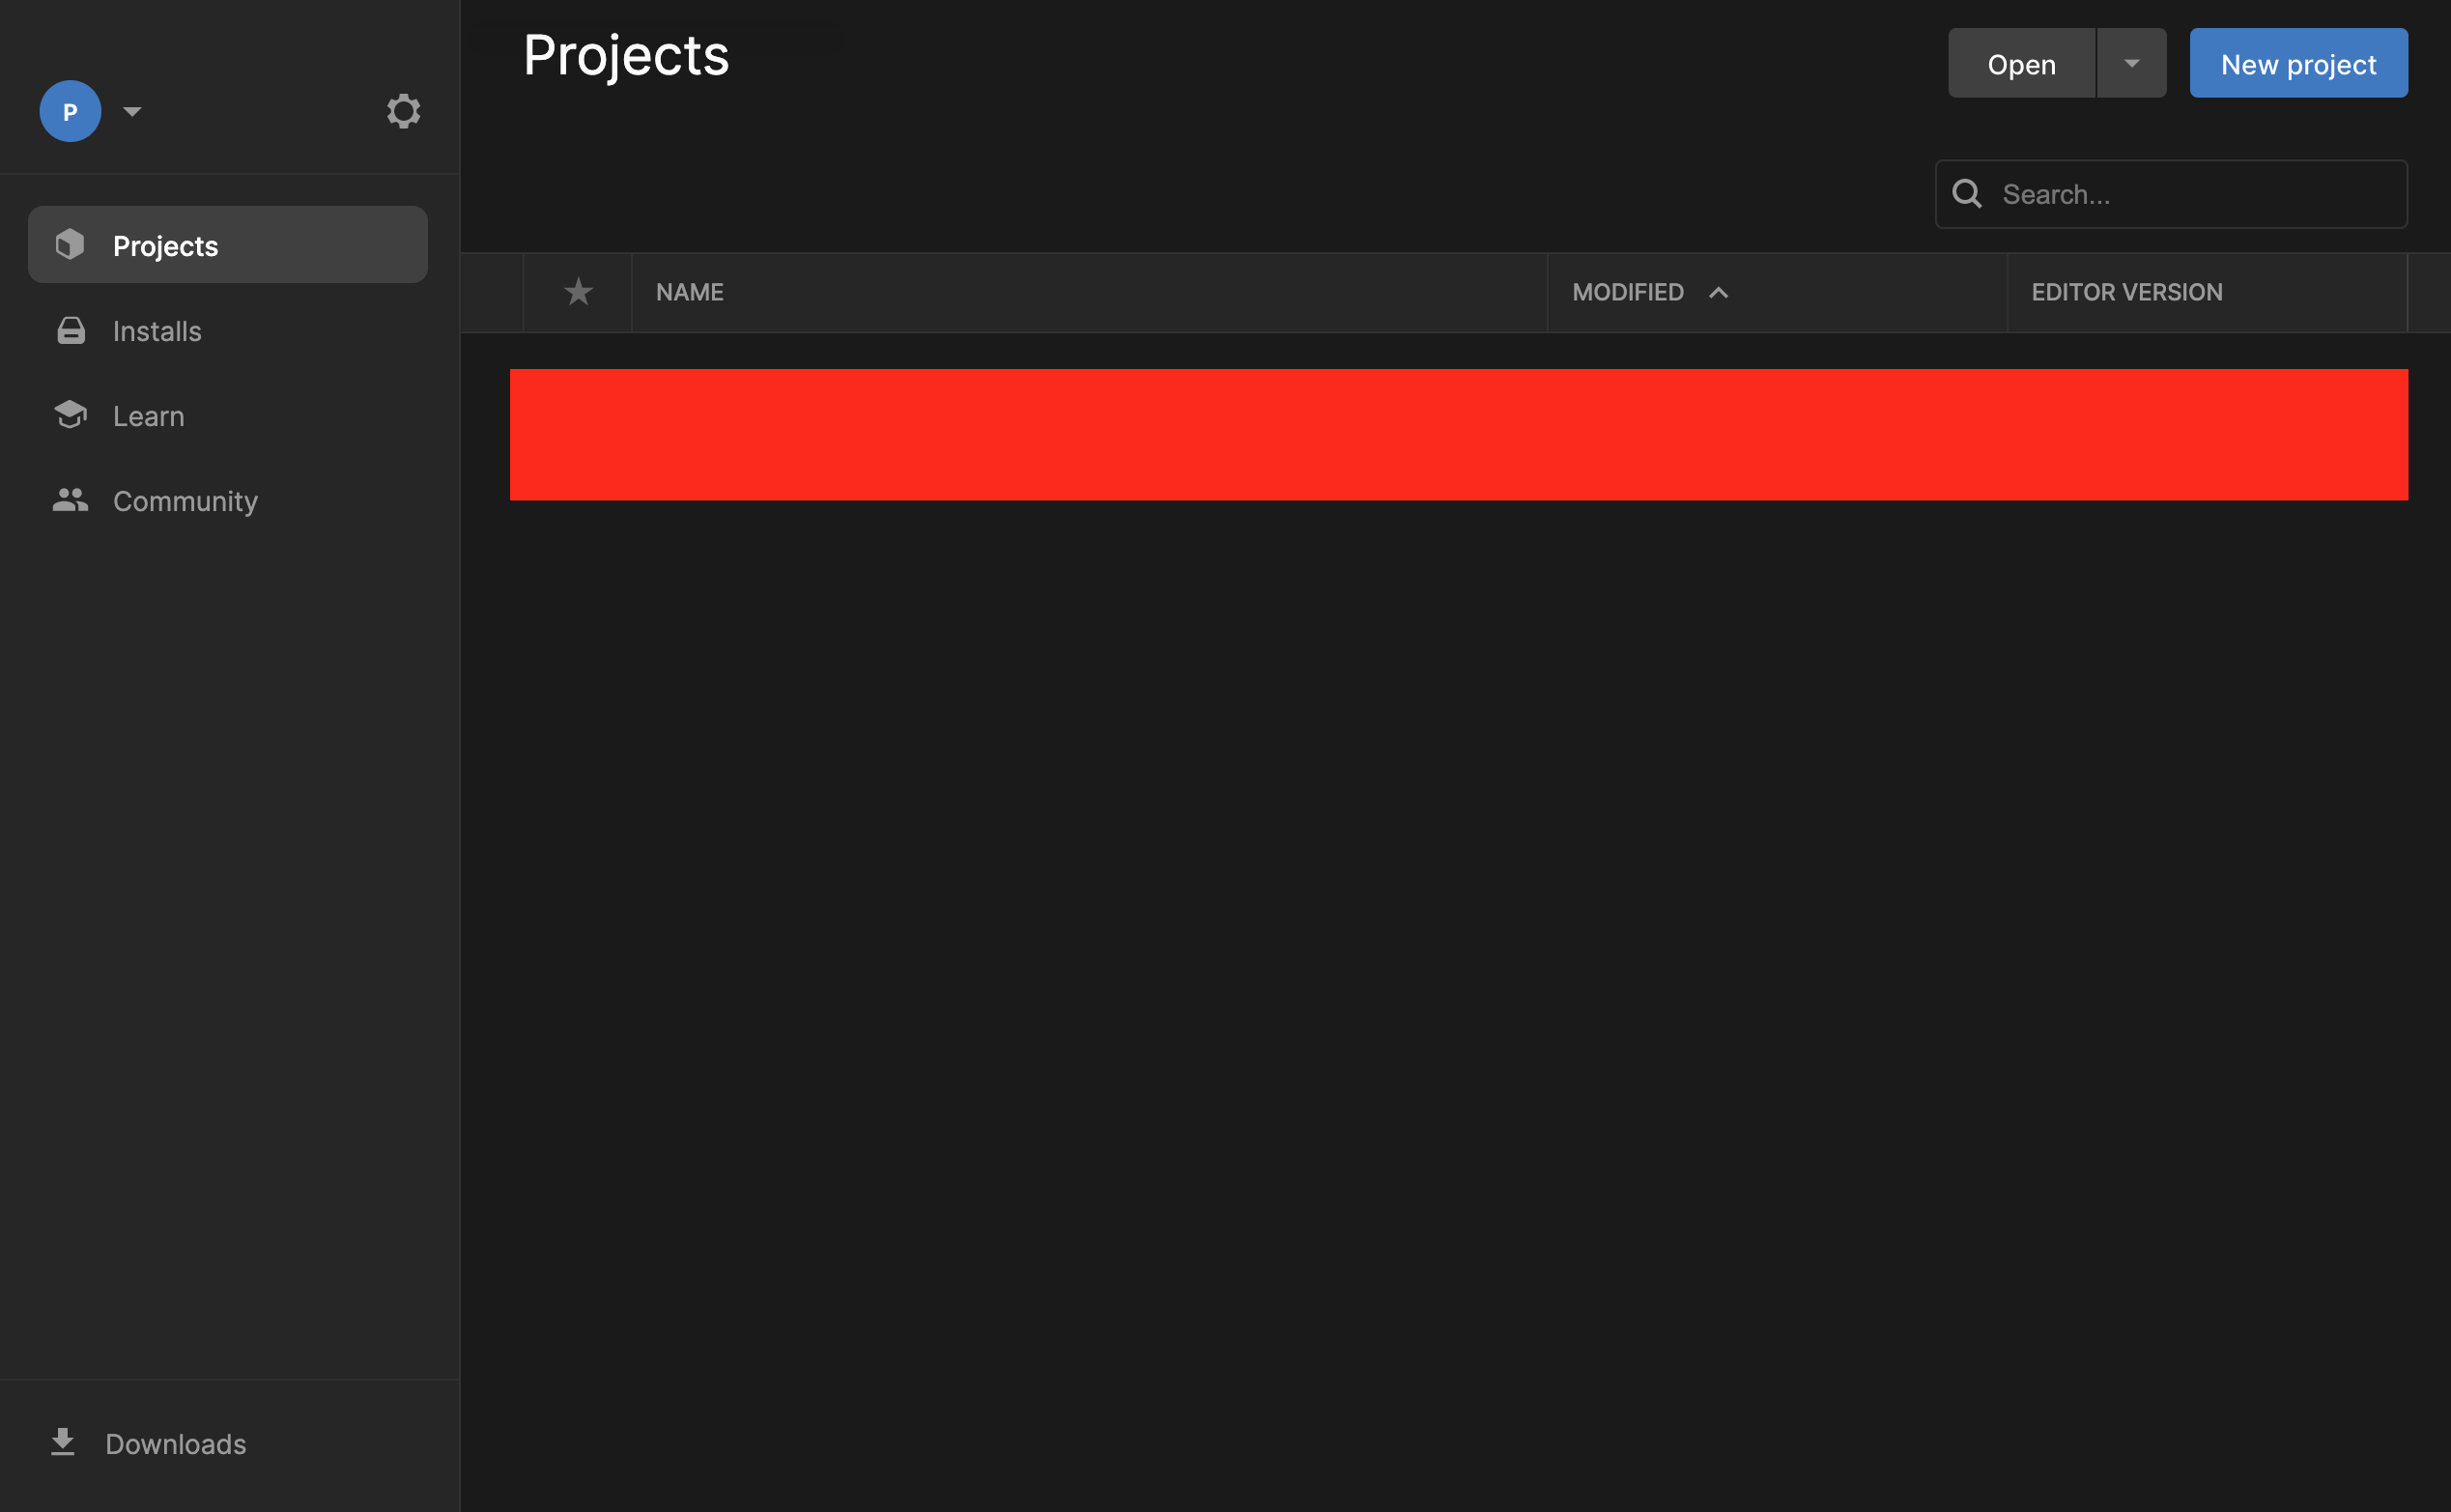
Now look for Unity Hub in Applications and Run it. You should have it open as seen below

Having completed these steps, we should have the Unity Hub interface opened.
Congratulations on successfully installing Unity Hub 🥂 🥂. Next step is to install Unity.
Let's Continue!
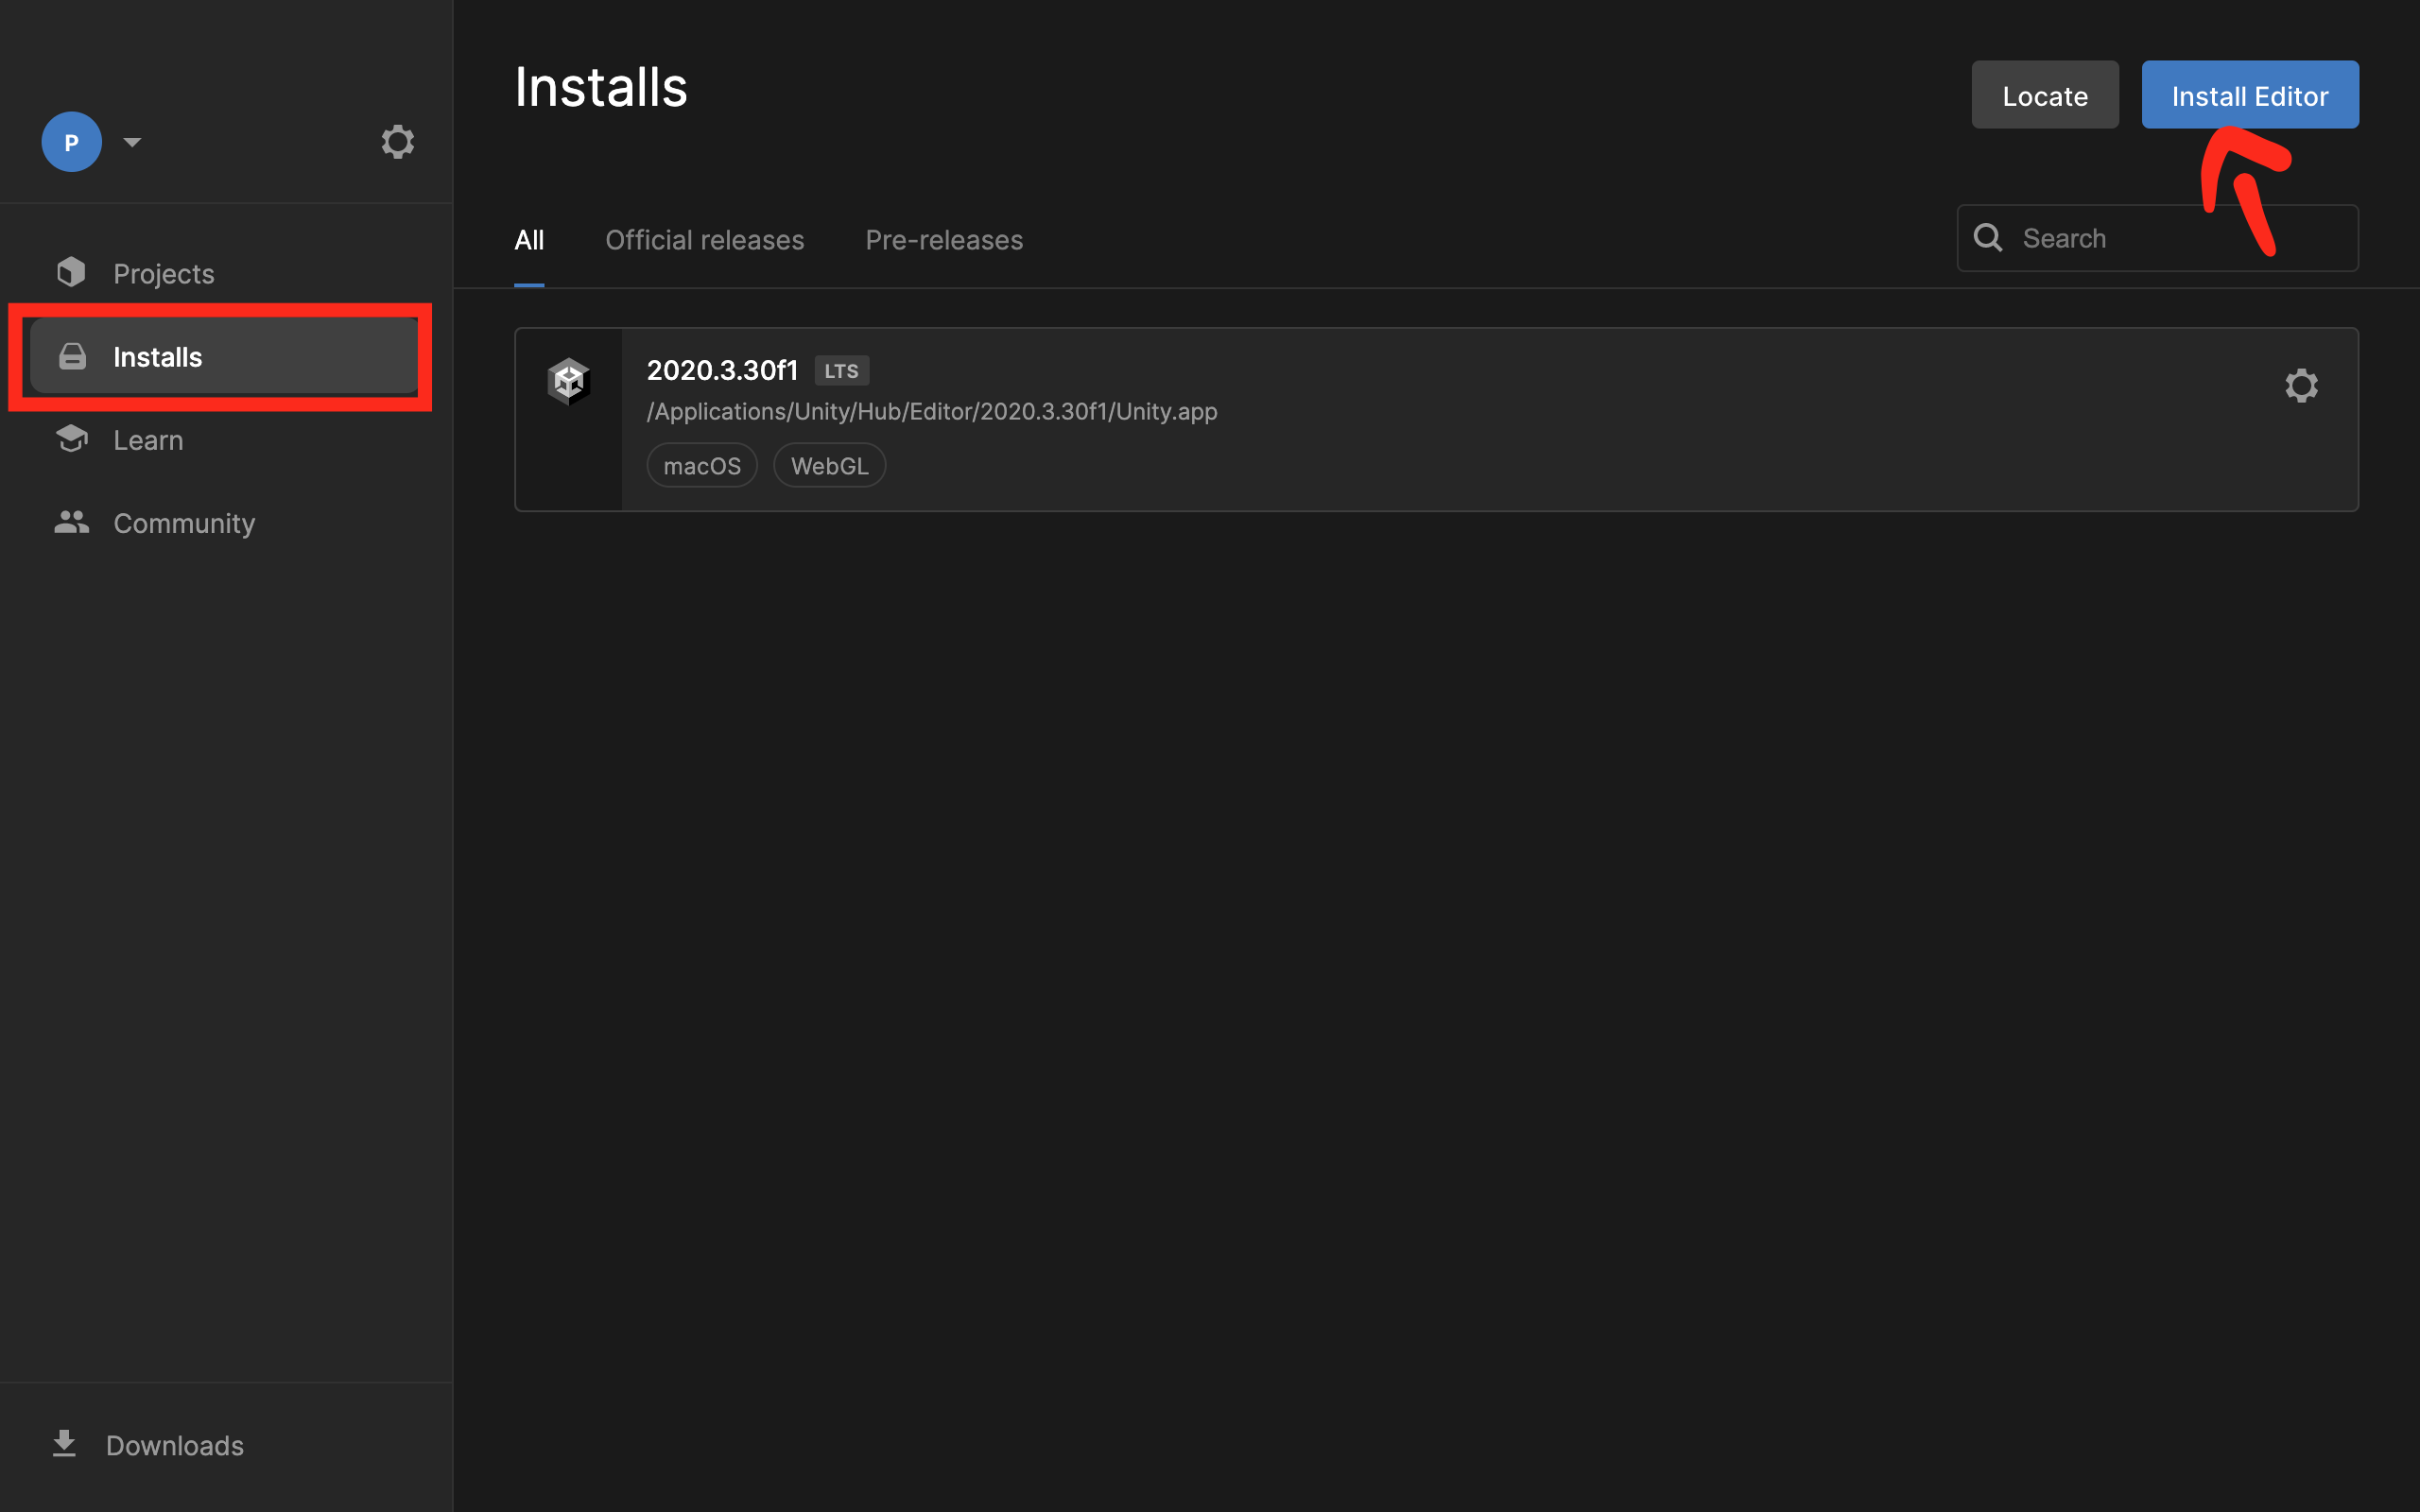
Step 7:
Go to the Installs tab and click on Install editor button as seen below
Step 8:
From the tab opened, select the version of Unity you want installed and click the Install button. Usually there is a version recommended to be installed.
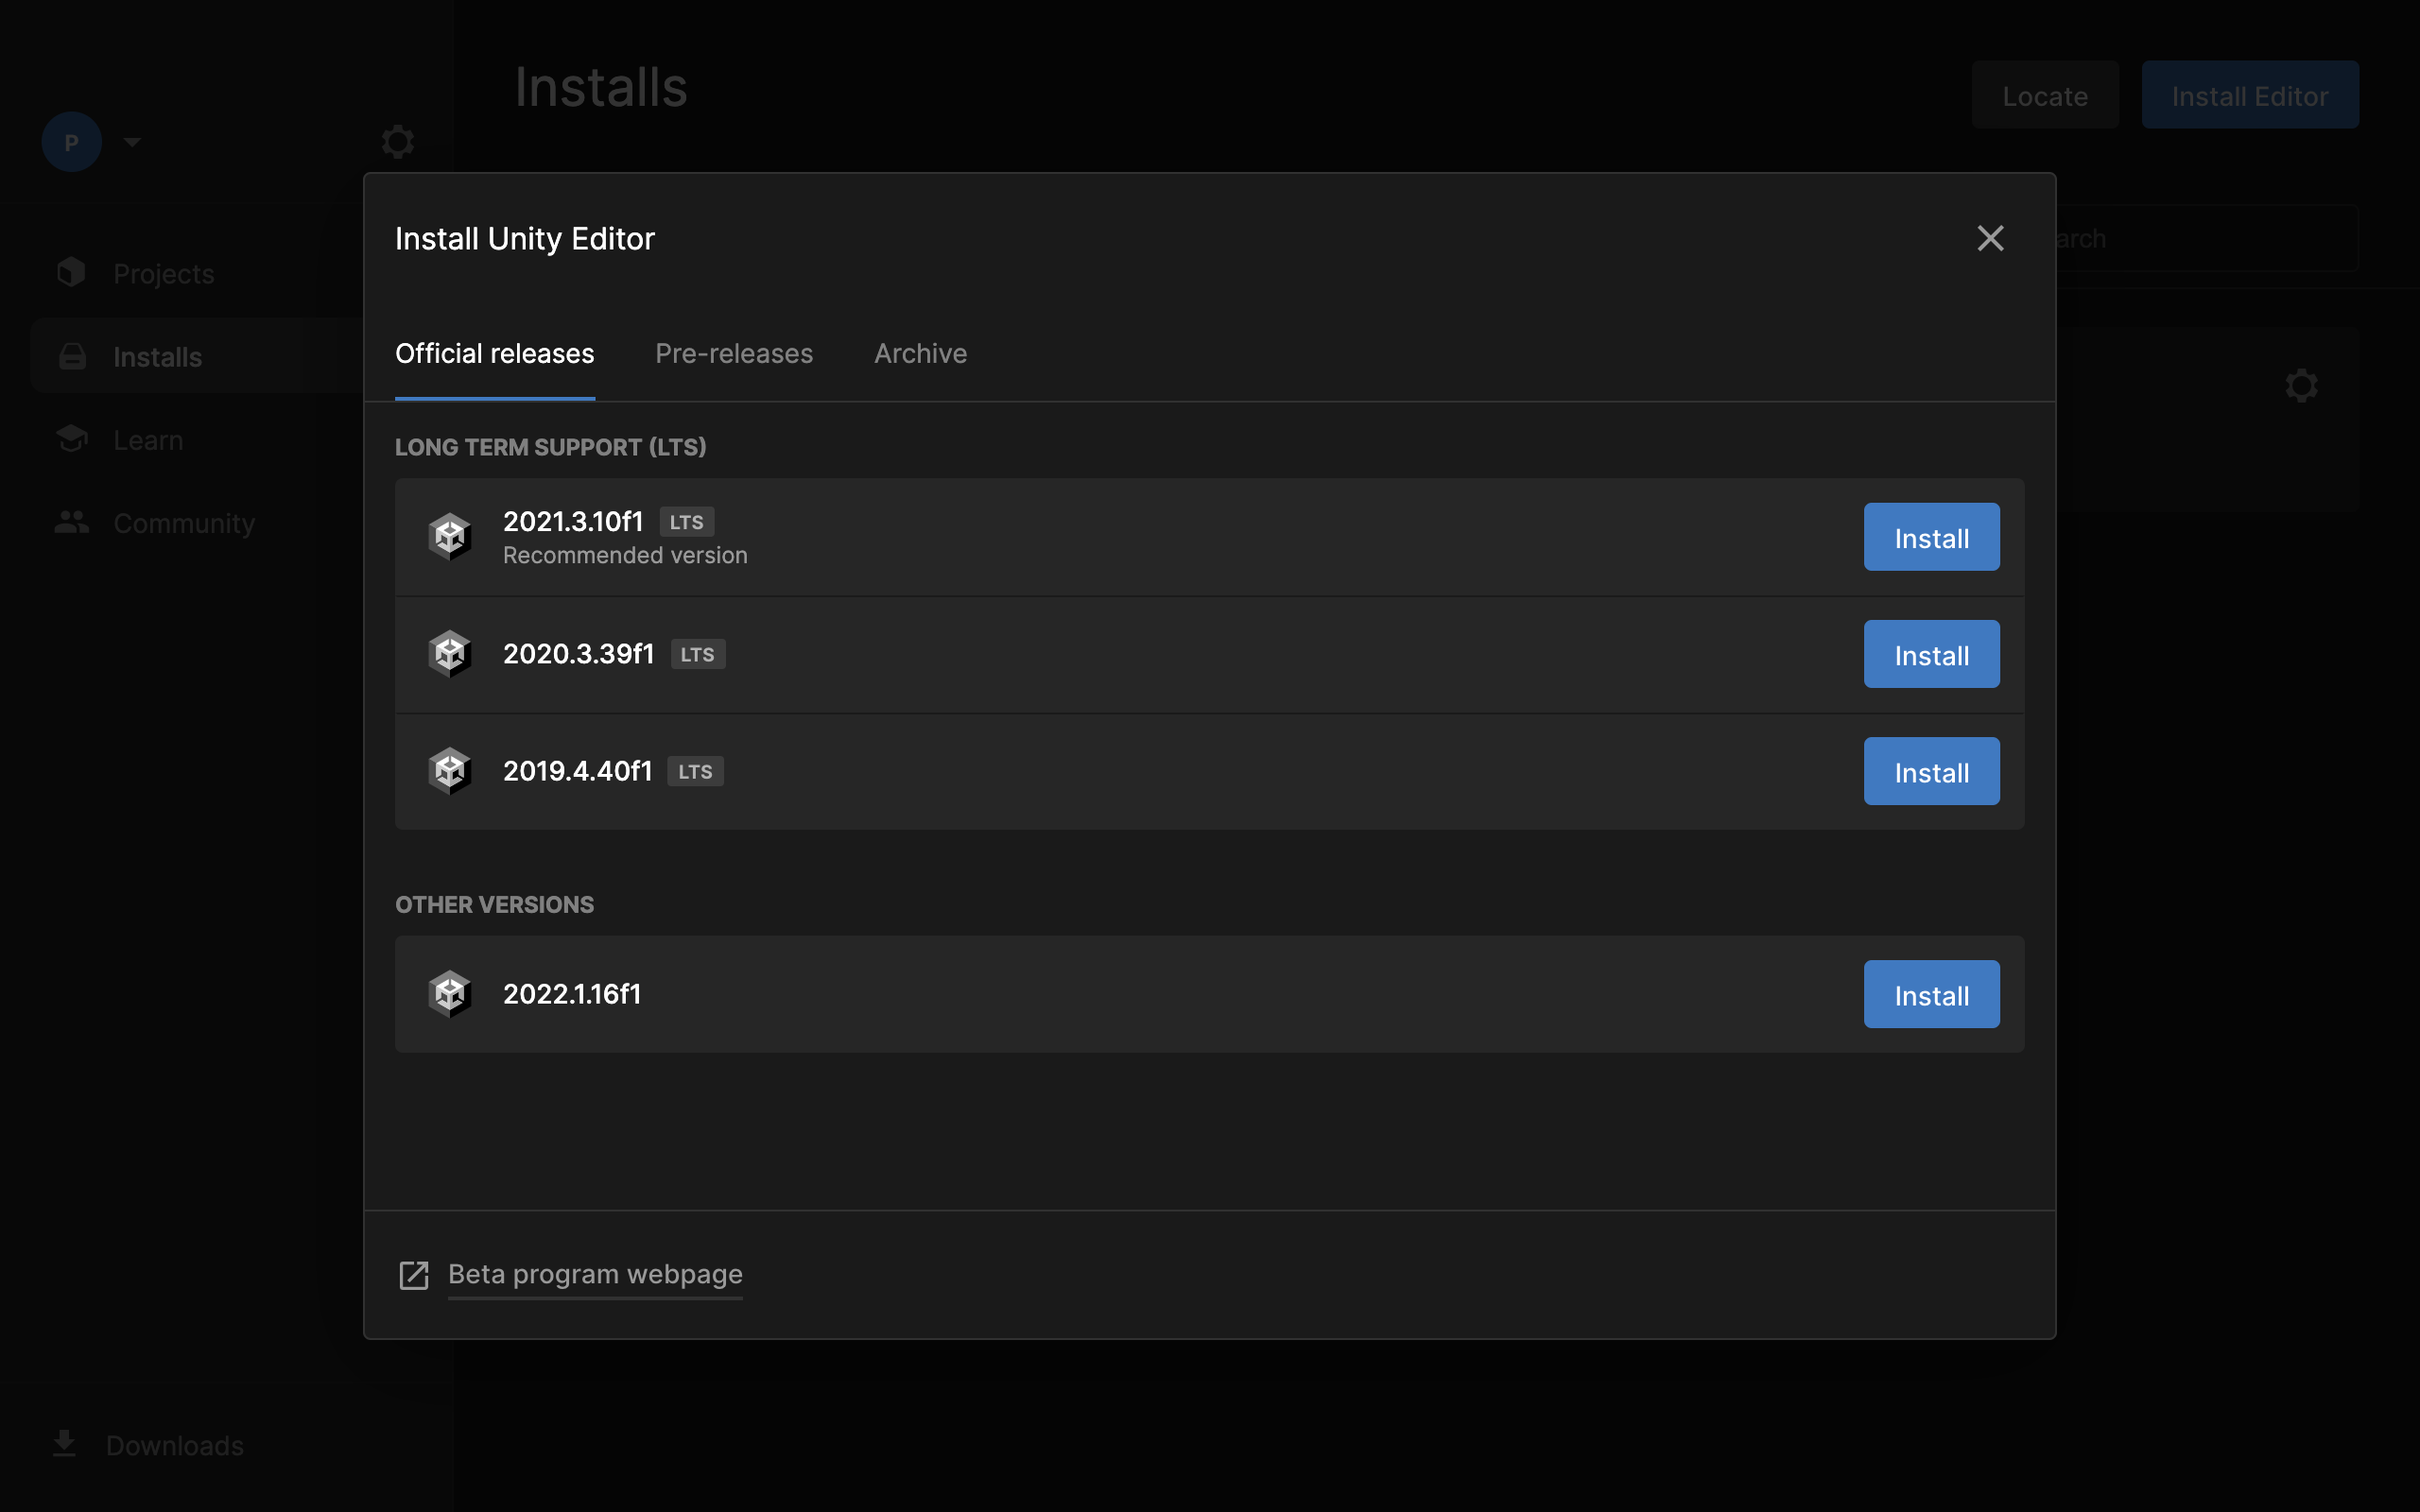
You might want to install older versions for your project. To do this, navigate to archives to select older versions to download.
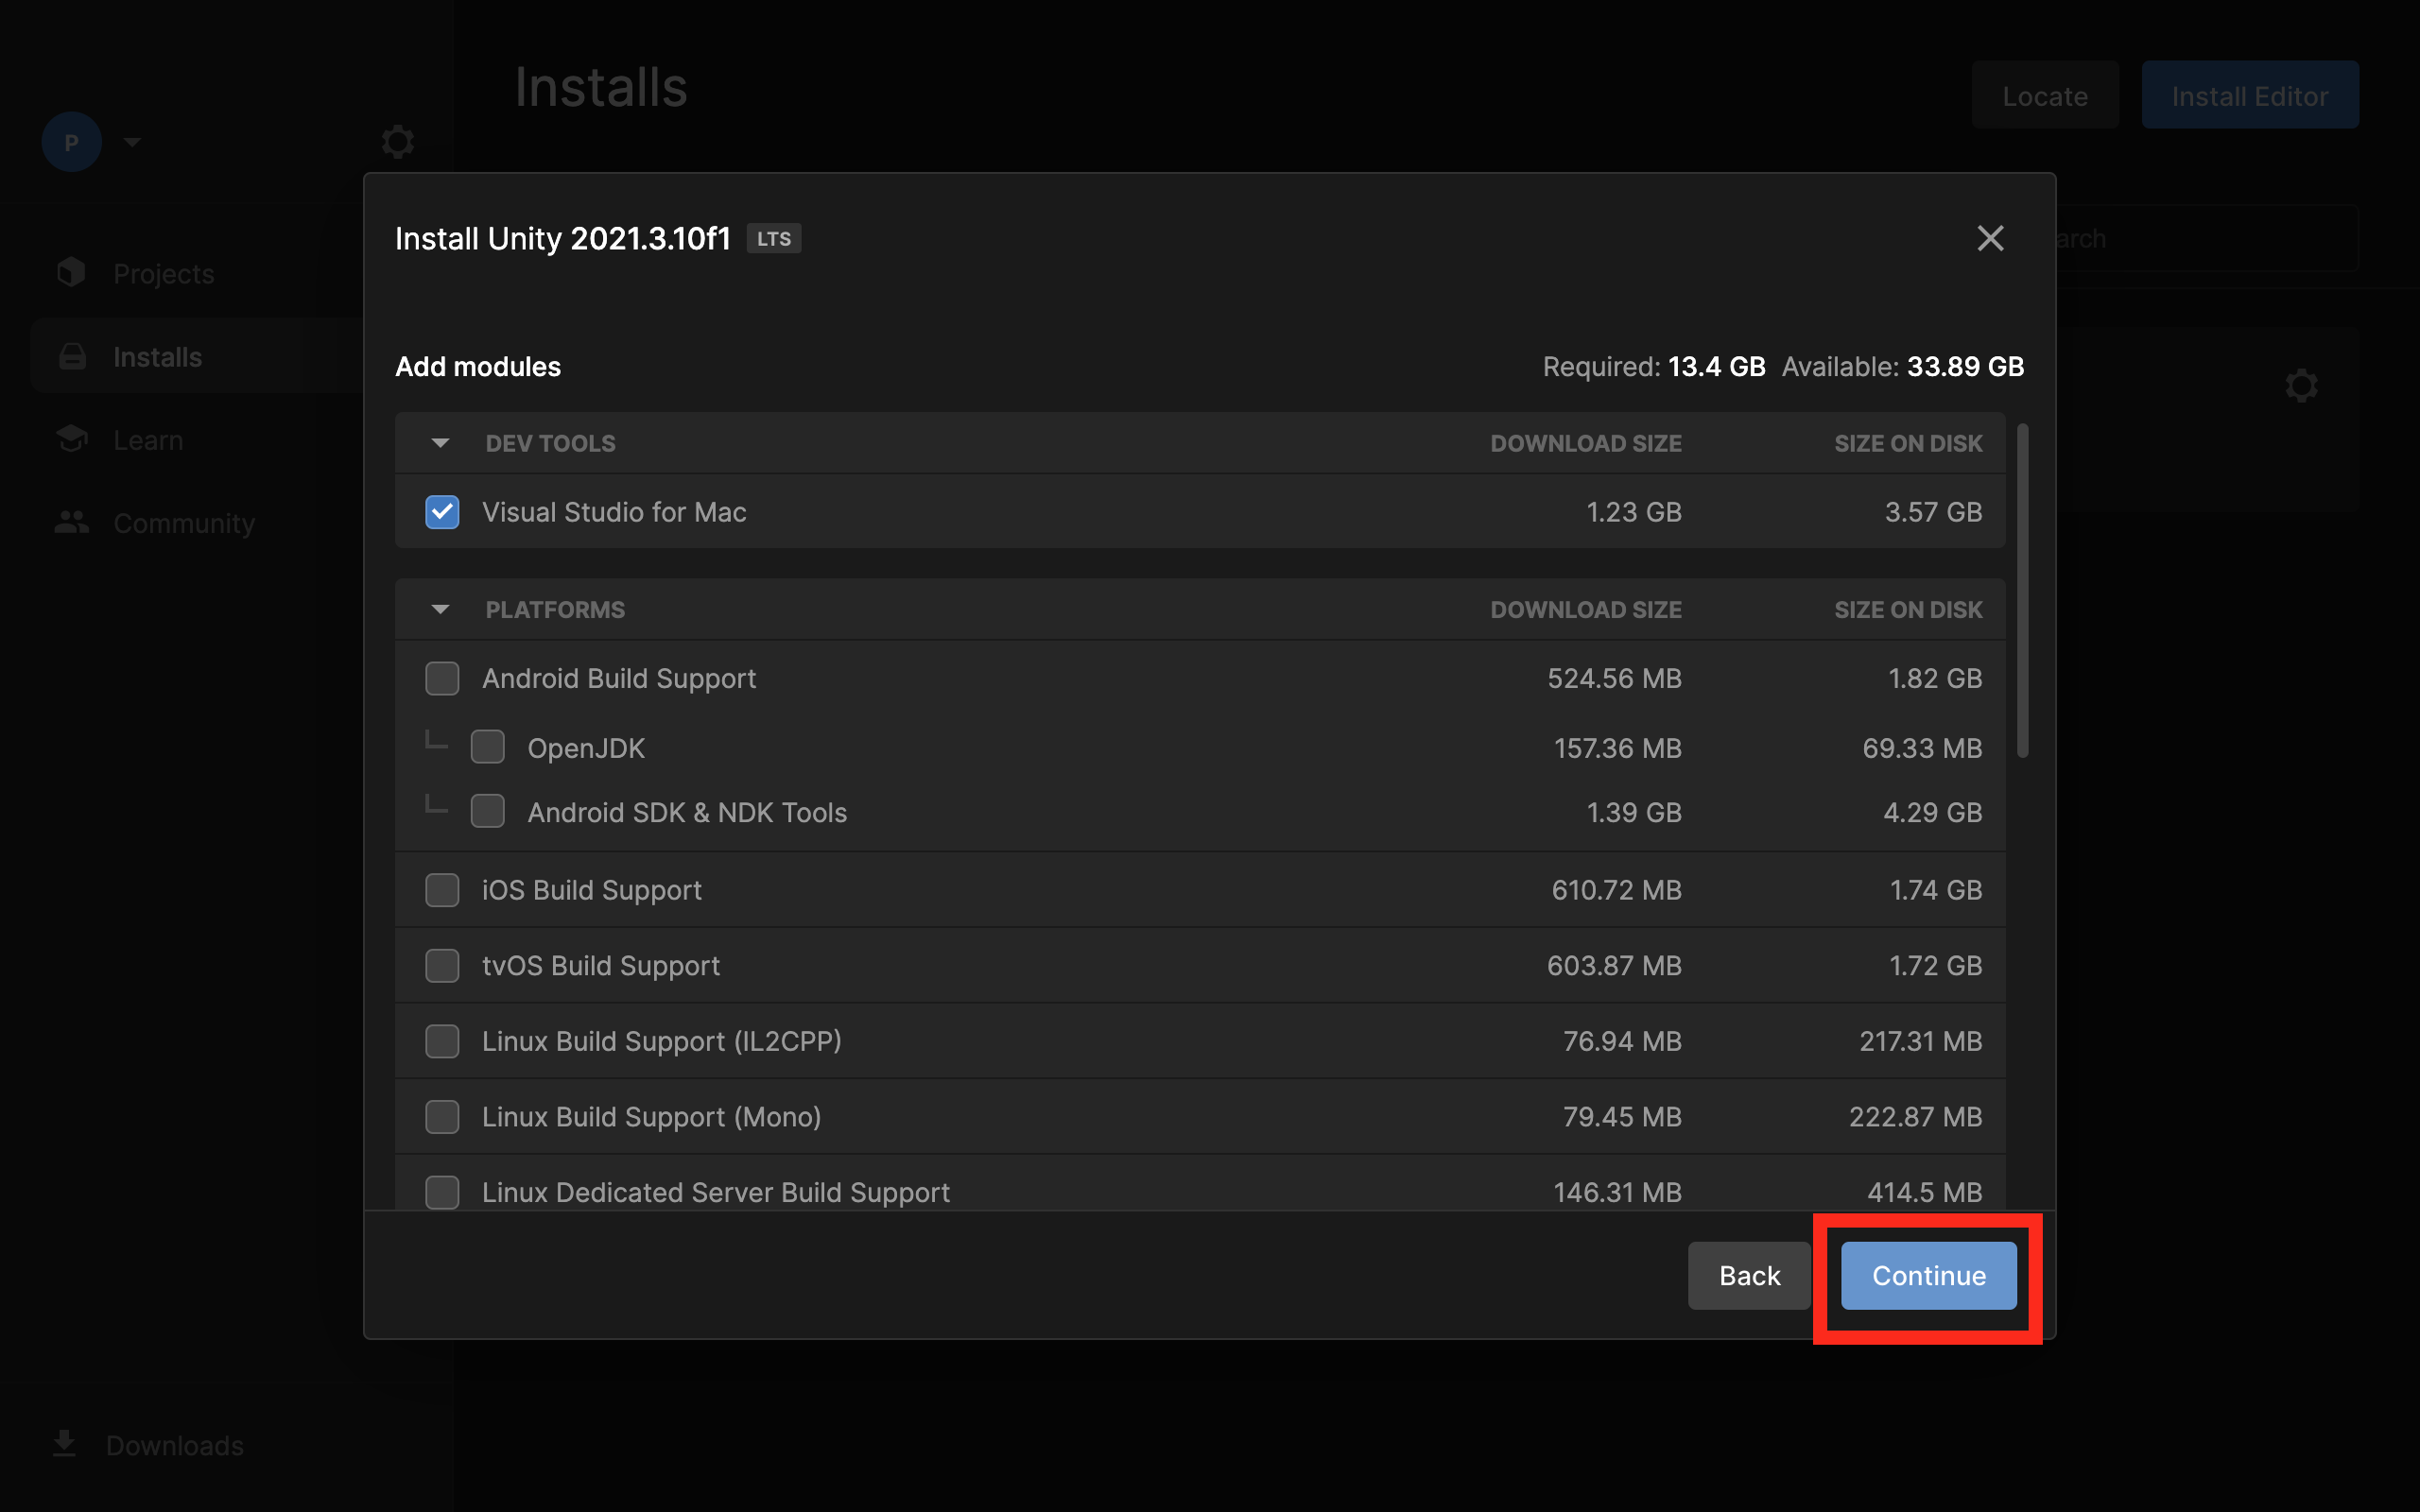
Step 9:
Add modules required for your project. Modules to be installed depends on your project or PC requirements.
You would want to add the following modules for a start:
- VS Code(If not installed)
- WebGL Build Support
Step 10:
Agree to all terms and condition if any and wait till unity is downloaded
Once it is downloaded, navigate to Projects Tab and click on New Project button
Now we have Unity Hub and Unity all set up!!

Conclusion
Congratulations on making it to the end of this tutorial. This is the first step to exploring the possibilities of Unity.
If you have any questions, suggestions or comments, drop them below, or reach out to me on Twitter!
Keep building!!


